

I've been thinking about knitted pleats a lot lately. As I've been preparing my older patterns for the new layout (less than a fifth of them to go, nearly done!) I've been creating new tutorials to support them - and the one I'm working on this week is knitted pleats, for my Pleated Beret pattern.
The Pleated Beret was published 8 years ago, and it never fails to amaze me when I look back at what I was doing back then - using pleats to create a crown shaping is something I'd still enjoy playing with now.
Just as you might make a pleat in sewing, you can in a piece of knitting too.

1) Invariably the pattern you are working from will have you set up the stitches in some way to ensure a pleat folds neatly – with the Pleated Beret pattern this is done with slipped stitches, forming a column in the fabric. Some patterns will have sections of stocking stitch and reverse stocking stitch instead of slipped stitches.

2) The first knitted pleat we will consider here is a pleat that folds to the left, as used in the Pleated Beret pattern.
Work in pattern until 4sts before the slipped stitch column (to make a pleat 5sts wide), so that the pleat width includes the slipped stitch column, and the slipped stitch will sit on the visible edge of the pleat.

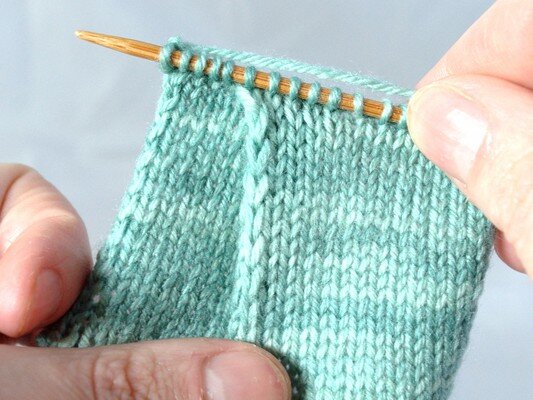
3) Slip the next 5sts into a spare DPN, and the following 5sts onto another. Creating a 5st wide pleat requires 15sts, i.e. 3 x 5sts.

4) The key part of the pleat is arranging the stitches to be joined. Here they form a 'Z' formation, with the first 5sts at the front, and the last 5sts at the back. Simply fold the DPNs over until you have a Z fold in the fabric.

5) Slip the first stitch from the middle needle on the front needle, and slip the first stitch from the back needle onto the front needle, and knit these together with the first stitch on the front needle – k3tog. This part is similar to the Joining Live Sts method, except you have 3 sets of stitches.
6) Continue in this manner for all pleat sts, knitting one stitch from each needle together. One left leaning pleat has been created.
Then knit to the end of your work as directed, or as in the case of the Pleated Beret, work each pleat as given to create the crown shaping.
Right Leaning Pleat

7) To create a right leaning pleat of the same width, work until 10sts before the slipped stitch column.

8) Slip the next 5sts onto a DPN, and the following 5sts into another, and this time fold the needles and sts into an 'S' formation, so that the first 5 slipped sts are at the back, and the slipped stitch column is the first stitch on the front needle.

9) Same as before, slip the first stitch from the middle needle then the first stitch from the back needle onto the front needle, and knit these together with the first stitch on the front needle – a k3tog.

10) Perform this across all sts for the pleat. Continue until the end of your work – one right leaning pleat has been created.
————————————
Hope you find the tutorial useful!
Support
As always, if you have a question about this technique or need some help with it, leave a comment below! I’m afraid I’m unable to offer help via email or private message but you’re welcome to post in our forums.

The after-thought peaked brim was originally included in our 2013 Mystery Hat-a-long pattern, Erica, late last year. It proved to be a popular option and I figured I’d get it all written out into a blog post so that you can consider adding this kind of brim to just about any Hat.
I like to create a peak Brim all in one piece, right at the very beginning of the work, as I like the neat, crisp line it creates with the ribbed Band. But I am also aware that it is fiddly, and should you change your mind later, the only way to remove the peak is to rip everything out.
If you are unsure about whether a peaked Brim works for you or not, then the after-thought peaked Brim could be for you. This method involves working the peak in just the same way, except the stitches are picked up from the edge of the twisted rib band instead of being provisionally cast on, and instead of joining the live stitches as instructed below, the stitches are stitched closed, or grafted, to the underside of the Band.
Sure, picking up stitches isn't everyone's favourite task; they can sometimes look a little clumsy. But if you're really not sure about the peak, the after-thought peaked-Brim will be just the ticket.

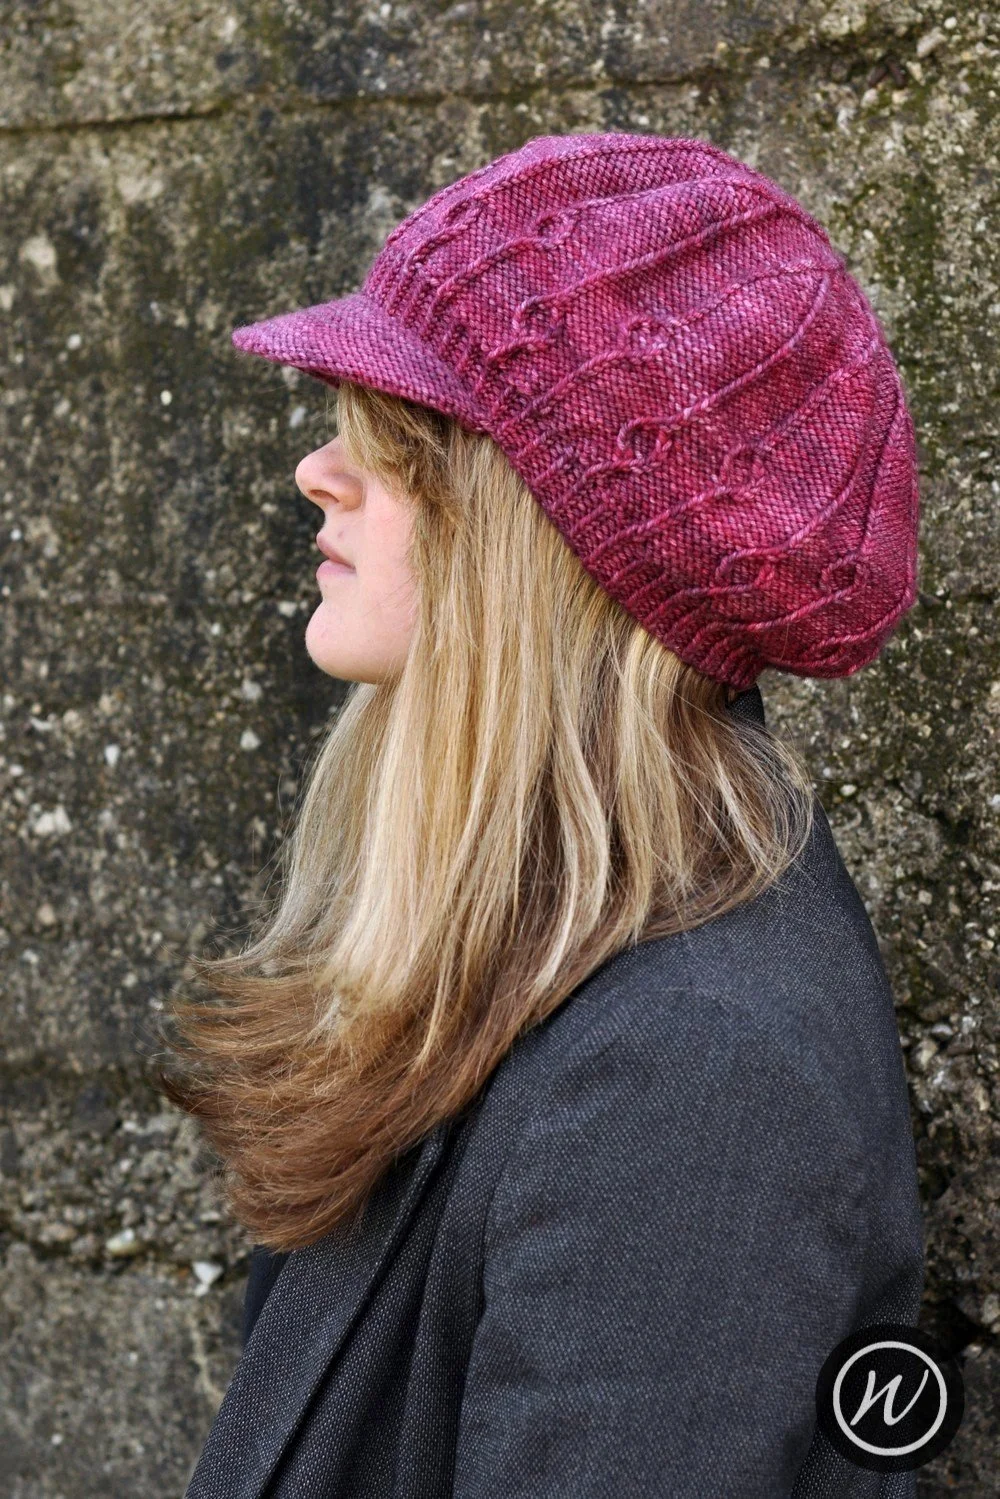
the ‘Camden Cap’
the ‘Erica’ Hat
The peak is essentially a pocket, worked in stocking stitch or reverse stocking stitch and created by short rows, and it doesn’t really look like a peak until you’ve added in the plastic and closed it all up. This oddity comes up a lot on the forums, both for Erica and Camden Cap, it’s one of those things that you really gotta trust and just do - because it probably won’t make sense or look like much until it’s done. I have thought about creating the peak in different ways but I like this way because of the way the stitches stretch and spread out. Maybe in the future I’ll design more Hats with a peak and explore other methods, who knows!
How To
To create the pocket, pick up an even number of stitches that’s just under half of the brim stitches, ensuring they sit centrally to the centre front. You really do need this many, as the brim curves around the face a lot more than you think.
Row 1, right side: Knit all stitches
Row 2, wrong side: Purl all stitches
Row 3: Knit to one stitch from the end, work a short row (SR)
Row 4: Purl to one stitch from the end, work a short row (SR)
Repeats Rows 3 and 4 until your work is just under double the depth of the peak at the widest point - I’d suggest aiming for around 3 inches or 7.5 centimetres in total, maybe a little less. Don’t forget that it’s going to be stretched around the plastic insert, so it doesn’t want to be as big as the plastic insert.
Next Row: Knit all stitches, working the short rows as you go
Next Row: Purl all stitches, working the short rows as you go
Lightly press the Brim with a damp cloth and iron (steam press) to create a pocket with a gentle fold; you may prefer to lightly block with pins to maintain shape.

Diagram 1: this schematic shows the shape needed for the plastic insert. The vertical arrow is the depth of the brim, which should be around 2 inches or 5 centimeters. The curved horizontal arrow will be roughly one half of the finish brim circumference, or just under.
To create the Brim insert, I recommend recycling a plastic bottle. Ideally you'll want to use a water bottle or similar, and if you can find one in a coordinating coloured plastic, all the better. Rinse the bottle out after use and leave to dry. Cut a cross section of the bottle deep enough for the Brim template and cut the section vertically to open it out into a rectangle. Do not attempt to remove the curve in the plastic, as this might cause it to melt. Instead, cut the Brim in the direction of the curve, as this will enhance the shape when worn.
Print the schematic above to scale - you’ll need to check your printer settings to achieve that, I’m afraid I can’t advise you on that! Now transfer this shape to the piece of plastic by drawing around the edge of the paper template with a permanent or non-smudge marker. Cut the shape out of the plastic.
Neaten the edges and trim approximately 2 millimeters all the way round – take care not to trim too much, as you can always take more off as needed. Test the size by slipping it into the Brim pocket to see how it closes – you want a little stretch in the Brim to cover the plastic to hold it tight, but if you can see the plastic through it, the Brim has been stretched too much, and the plastic needs carefully trimming further.
You may also wish to make the edges smoother, in particular the points, by placing tape around the edge. Once you have the plastic cut to shape, you will hold it inside the Brim as you close the Brim.
To close the brim, fold the knitting around the plastic insert and either slip stitch the live stitches to the underside of where you picked up, or pick up loops from the underside and graft them to the live stitches. Fair warning that this bit is fiddly as you’ll be joining the stitches and closing the brim around the plastic insert. You may wish to join about two-thirds to three-quarters of the stitches before inserting the plastic.
Further Thoughts
It’s impossible for me to give an exact number of stitches to cast on or an exact amount of rows to work for the peak - it really does depend on your Hat size, your yarn, your gauge and much more. If you have the Camden Cap or Erica patterns then you could use the instructions for the peaks in those on other Hats. Otherwise, experiment with this - it’s being added after you’ve finished your Hat so it won’t ruin anything if it doesn’t turn out right the first time!
Support
Have fun with this! If you’ve a question about this technique, pop it in a comment below or visit the forum. I’m unable to offer help with patterns or techniques via email. I’d love to see what you do with this!
This tutorial was updated on 2nd December 2021 with fresh photos and new links, and was republished from my drafts where it’d been hiding for a while.

I’m known as Woolly Wormhead in part because I used to make a *lot* of Hats with, well, worms and other appendages attached to them! And I mean a lot. I used to sell my hand-knitted or hand-crocheted Hats at craft fairs around London as well as through my online shop - we’re talking a very long time ago now - and they were never like any other Hats folks were selling. Hats have always been my playground and honestly I love nothing more than adding an I-cord or 5 to the crown.
These I-cord toppers are super quick to make and are a fun addition to just about any Hat. You could work one, three or as many I-cords as you like!
The toppers can be worked on a top-down Hat or bottom-up Hat, and today I’ll focus on how to add them to a bottom-up Hat. Adding I-cords to a top-down Hat is super easy and I suggest reading through the I-cord Tail Beanie of the Baby I-cord Beanie free patterns to see how it can be done.
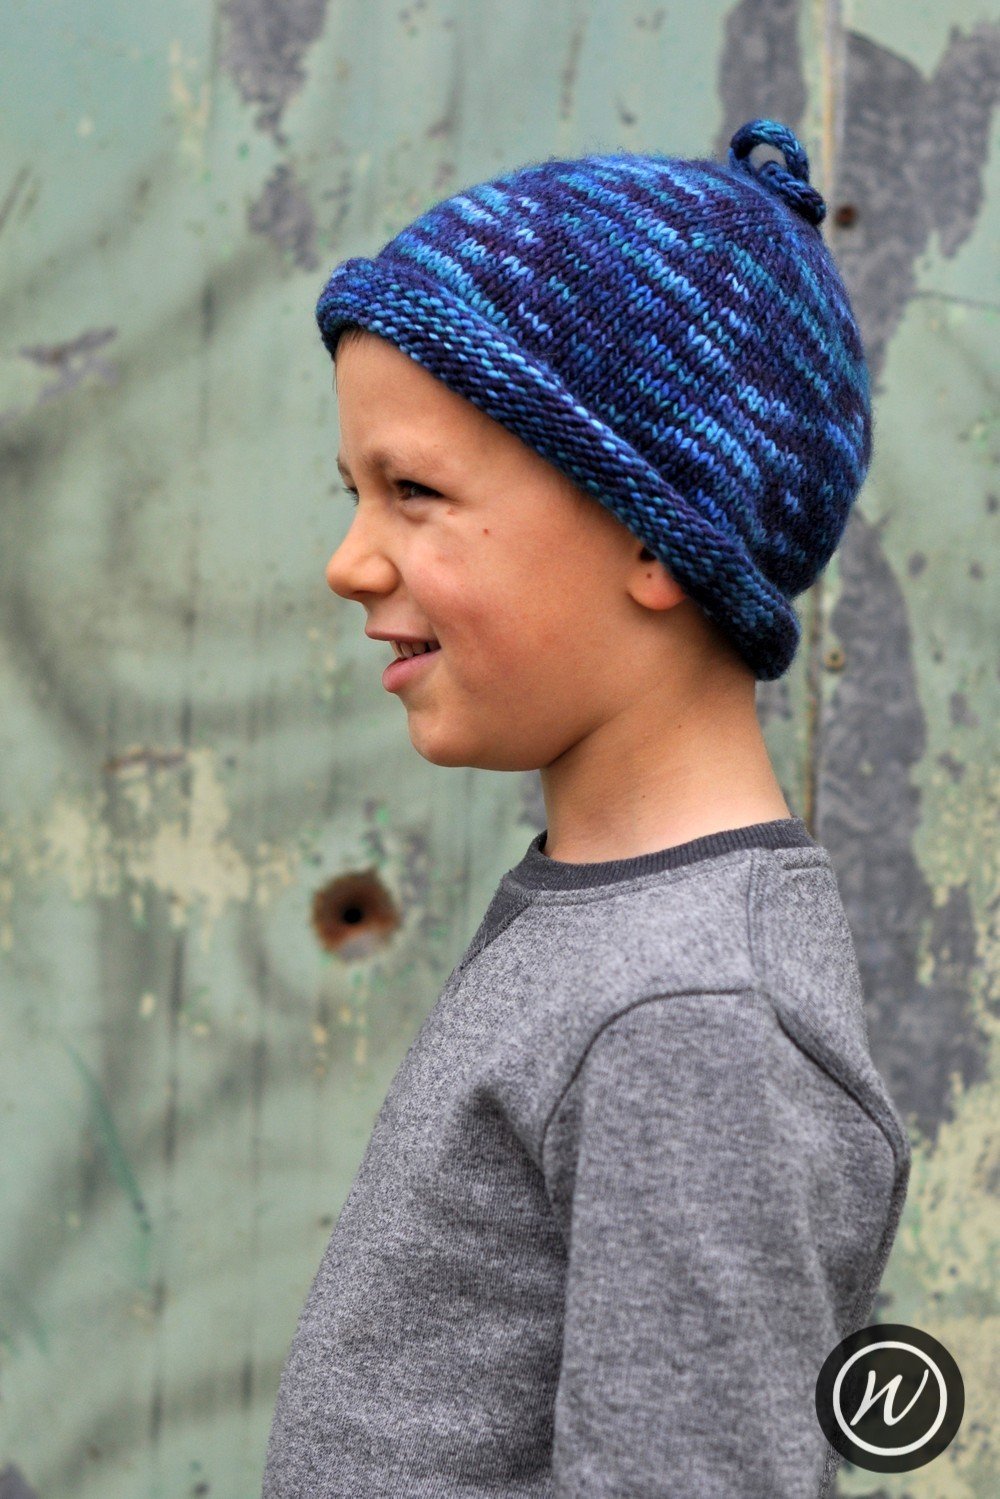
the ‘I-cord Tail Beanie’ with a long solo I-cord topper

the ‘Beamish’ pattern with multiple I-cord toppers in contrast yarn
Single I-cord Toppers
To work a single I-cord at the crown you’ll want to reduce the number of crown stitches down to 3 as quickly as possible. If you’ve 6 stitches remaining after finishing the crown shaping then working k2tog around will work out just fine. However if you’ve more than 6 stitches then you may need to bring in some triple decreases to get the stitch count down. Here’s a few suggestions:
6 stitches remaining:
Decrease Round: k2tog three times
7 stitches remaining:
Decrease Round: k3tog, k2tog twice
8 stitches remaining:
Decrease Round: k3tog twice, k2tog
9 stitches remaining:
Decrease Round: k3tog three times
Want you want to avoid doing, if at all possible, is working the decreases across more than one round. Doing so will do is start to add a point to the crown shaping, like a little pixie Hat, and that might be entirely desirable! But it might not be the look you’re after, especially if you’re thinking of adding a knitted bobble or maybe sewing the end of the I-cord down to form a loop. Whilst triple - or even quadruple - decreases might be a little awkward they’re only being done once and it’s worth the effort to keep the crown flat and the I-cord close to the centre.
Once you’re down to 3 stitches, work either a knit I-cord or a purl I-cord on the remaining stitches. 2 inches or 5 centimeters is an ideal length for forming a loop or adding a little knot. For a more dangly look, 3 inches or 7.5 centimeters will give you an I-cord that hangs down, and even longer could give you more to play with, depending on what you want to do with it!
Multiple I-cord Toppers
When it comes to having lots of I-cord toppers, working them in a contrast yarn, as shown in the Beamish Hat shown in the title image, adds to the playfulness of a Hat. Or work them with the same yarn - it really is up to you.
What we’ll be doing is working a knit I-cord into each of the remaining crown stitches that are left after you’ve finished all the crown shaping. You could also work a purl I-cord into every stitch, too, for a different finish.
If you want to change the number of I-cords and have a different number than the number of stitches left on your needles after finishing the crown shaping, then you’ll want to work one more round with either increases or decreases so that you get to the number you’d like. Just be mindful that you don’t want to work too many rounds between finishing the crown and working the I-cord toppers, as they’ll be less likely to sit close to the head. The more I-cords you have the more weight is added and they can pull or look a little odd if they’re not as close to the crown as possible.
Work the Hat pattern as directed and having finished the crown shaping, break yarn and thread it through the remaining stitches BUT leave the stitches on the needle - don’t slip them off as you would a regular draw-through finish. Threading the yarn tail through the live stitches like this helps us fully close the crown and neaten everything up at the end. It creates a few more yarn ends to weave in but I promise it’s worth it for the ease of finishing up a neater crown!
Starting with the first stitch and with DPNs - double pointed needles - at hand, increase into the first stitch as follows:
Increase Round: K1, M1, K1
You’ll now have 3 stitches. Now work an I-cord for approximately 4 inches, 10 centimeters, or desired length. Break yarn & thread through remaining 3 stitches, tighten to close. Tie a knot at the end of the I-cord for them to look like they do in the Beamish Hat above or leave them untidied for a more dangly look.
Rejoin the yarn to the next stitch and work each stitch as you did the first - increase, work I-cord, bind-off - until all the crown stitches have been worked.
From the inside of Hat, pull the yarn tail to tighten and close the hole at the crown. Weave in all the I-cord topper tails and block as required. Voila!
Support
Have fun with this finish! If you’ve a question about this technique, pop it in a comment below or visit the forum. I’m unable to offer help with patterns or techniques via email. I’d love to see what you do with this!
This tutorial was updated on 1st December 2021 with fresh photos and new links, and was republished from my drafts.
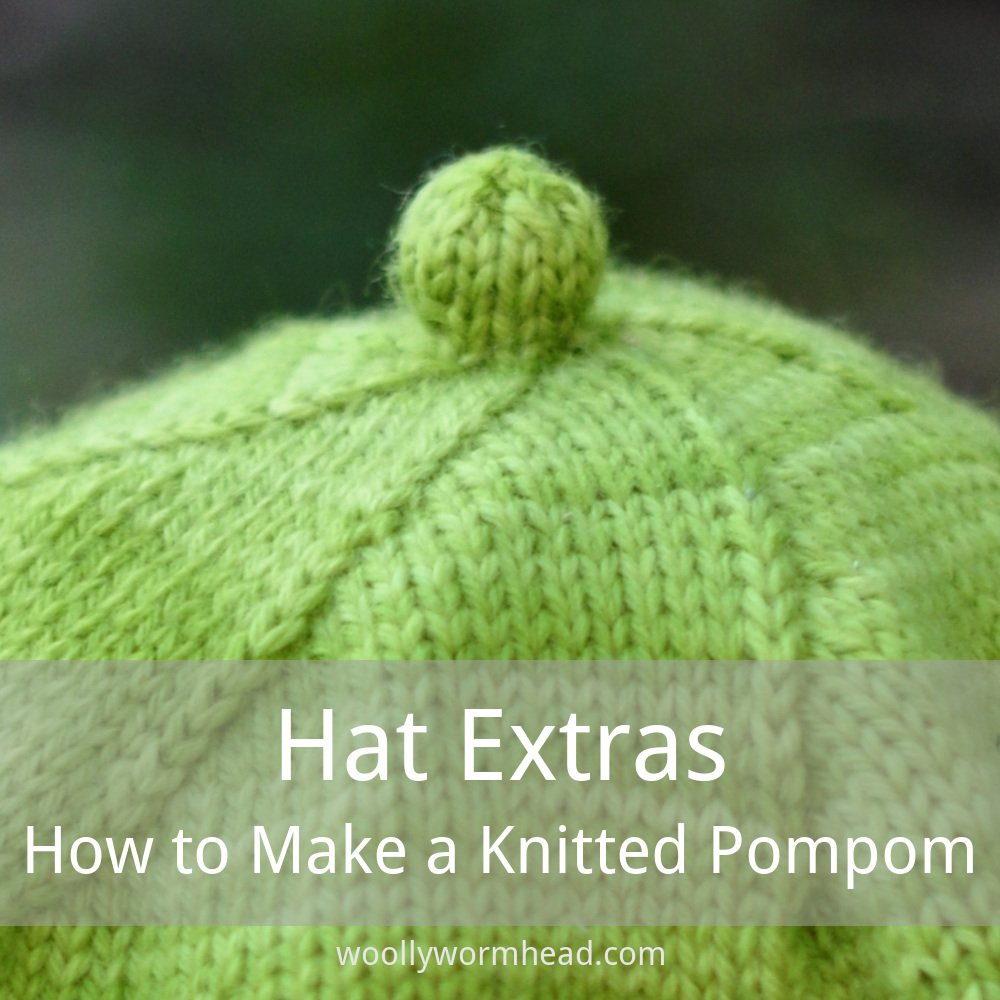
A knitted bobble, or knitted pompom, is a fun crown finishing that adds detail without the faff of making a traditional pompom! They can be worked directly after finishing the crown, as in the Aurora Hat in the title image, or on an I-cord stalk, as shown in the Alveare pattern. You could work several I-cord stalks at the crown and have small bobbles on the end of each for something really playful - it’s up to you!
I tend to call these bobbles as to me, a pompom is distinctive in it’s use of yarn. However the word ‘bobble’ means different things to different people, so I’ve called this tutorial ‘knitted pompoms’. That said, I’ll likely call them bobbles throughout because I can’t help but default in language.
Needles & Notions
Small amount of stuffing - this could be yarn scraps, odd bits of wool felt or roving, or toy stuffing. Yarn scraps will be heavier than toy stuffing and may be more suitable for small bobbles (pompoms) or for ones that’ll hang on the end of an I-cord tail.
Tapestry needle
Skills required
Stocking Stitch
Reverse Stocking Stitch
Knitting in the round
Abbreviations
K: knit
P: purl
rpt: repeat
R/rnd(s): rounds
st(s): stitch(es)
M1: lift the horizontal loop between next 2 sts, place it onto the left needle & knit into the back of it
k2tog: knit next 2sts together
ssk: slip next 2 sts knitwise, then knit these 2 sts together through the backs of the loops

the ‘Aurora’ pattern with a stocking stitch knitted pompom

the ‘Alveare’ pattern with a reverse stocking stitch pompom on a reverse stocking stitch I-cord
Ideally, you’ll want to start the knitted bobble with 6 stitches, as I find that number gives a nice round ball. You could try the same increase formula below with 8 stitches and see how it works or you could just decrease a couple of stitches after finishing the final crown shaping, ready to go straight into a bobble.
How to
Rnd 1: *K1, M1; rpt from * to end [12 sts]
Rnd 2: Knit all stitches
Rnd 3: *K1, M1; rpt from * to end [24 sts]
Rnds 4 & 5: Knit all sts
Rnd 6: *k2tog; rpt from * to end [12 sts]
Rnd 7: Knit all stitches
Now add stuffing at this point, and be sure to add plenty - it will poke out a bit as you’ve not finished the bobble, but that’s ok!
Rnd 8: *k2tog, ssk; rpt from * to end [6 sts]
Break yarn and draw through remaining stitches, tighten to close.
From an I-cord Stalk
If you’ve worked an I-cord stalk at the end of the crown shaping, you’ll likely have 3 stitches left. To ensure you have enough stitches to work the knitted bobble, work this next round once only:
Increase Rnd: *K1, M1; rpt from * to end; join in the round, taking care not to twist the stitches. [6 sts]
Then work the bobble as above!
Ridged or Purl Bobble
You may be working on a Hat that has lots of purl stitches and a knit bobble might look out of place. Thankfully creating a ridged or purl bobble is just as easy as a knit or stocking stitch one.
Simply work a purled I-cord if it’s going to be on a stalk, and then purl all the stitches, including the increases - so they’d be a M1P - and it’s as simple as that!
I think a purled bobble makes an even more unusual finish that a knitted one, so I say go for it even if the only purl stitches in a Hat are in a ribbed brim.
Notes and Adjustments
You don’t have to use the increases and decreases listed, you could use k2tog throughout for a spiral finish to the bobble. Working extra plain rounds - i.e. rounds without shaping - between the increase rounds will make a more elongated shape which could look really cool and it’s worth trying. Just remember that if you want the decoration to be balanced, work the same amount of plain rounds between the decreases, too.
Alternatively, working extra plain rounds between the increases but working the decreases as given above could make more of a droplet or acorn shape - there’s lots of opportunity here to play around!
Support
Have fun with this finish! If you’ve a question about this technique, pop it in a comment below or visit the forum. I’m unable to offer help with patterns or techniques via email. I’d love to see what you do with this!
This tutorial was updated on 1st December 2021 with fresh photos and new links, and was republished from my drafts.
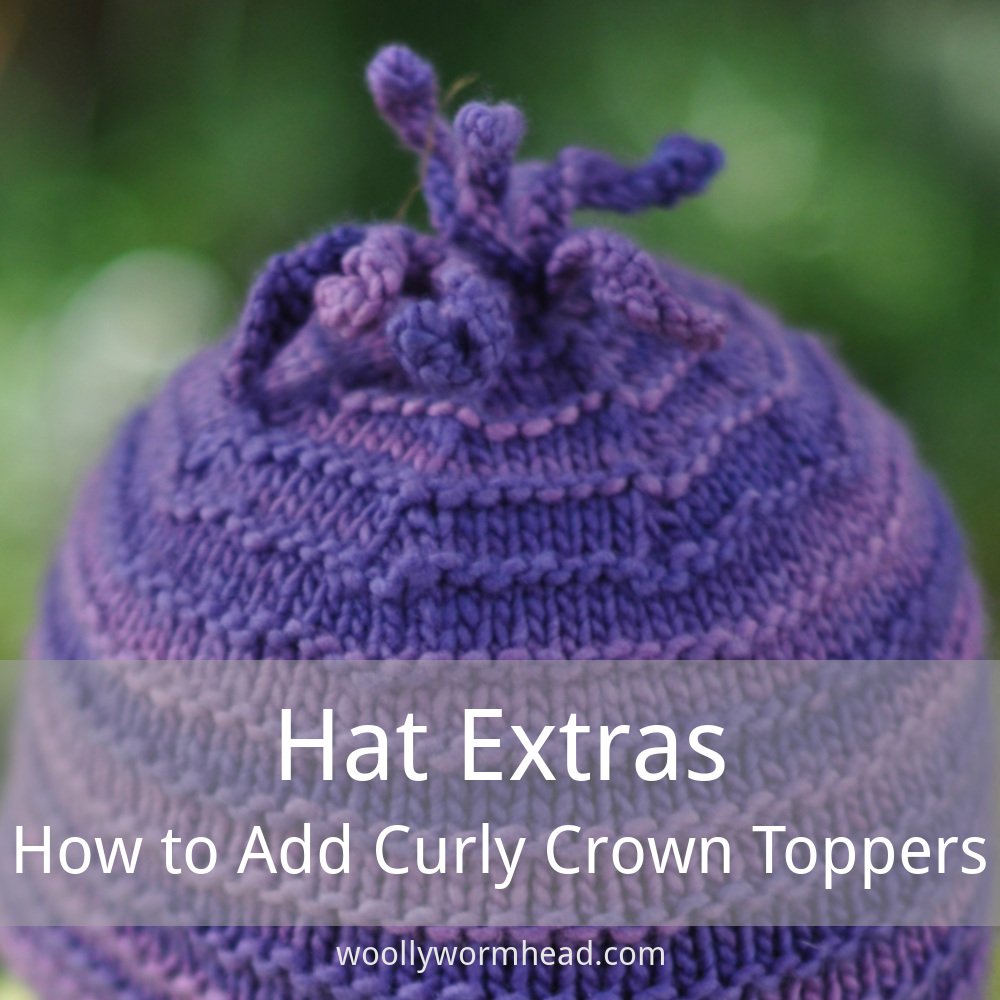
These playful curly tendrils can be added to just about any bottom-up Hat and they make a refreshing alternative to pompoms or I-cords.
To make the tendrils I recommend either the Cable Cast-on or Crochet Cast-on to start with, and the Standard Bind-off to finish.
A cast-on method that can be used at the end or middle of a row is essential here because we’ll be creating them from the last remaining crown stitches. In my experience the different in tension between the Cable Cast-on and Standard Bind-off helps to make them more curly, but the same could be achieved with the Crochet Cast-on by adjusting your hook size.
The depth or length of the tendril us up to you, but you’ll ideally want to make them around 3 inches or 7.5 centimeters long. The example below is from the Pootle pattern which is written for worsted weight yarn with a gauge of 5 stitches to an inch. They could be made longer if your prefer, in which case I’d suggest making the difference in tension between the cast-on and bind-off even greater, as the extra length means extra weight and that could reduce the curl.
If the tendril length is less than 2 inch or 5 centimeters then they’ll likely stick up rather than fall down - which could be a great feature! But just be mindful of this when you start to knit them.
Similarly, the yarn type may affect the curl and drape - soft buttery merinos will hang better than a high twist sock yarn, yet a high twist may curl better. It’s worth trying out different yarn and needle combinations to get the results you prefer.
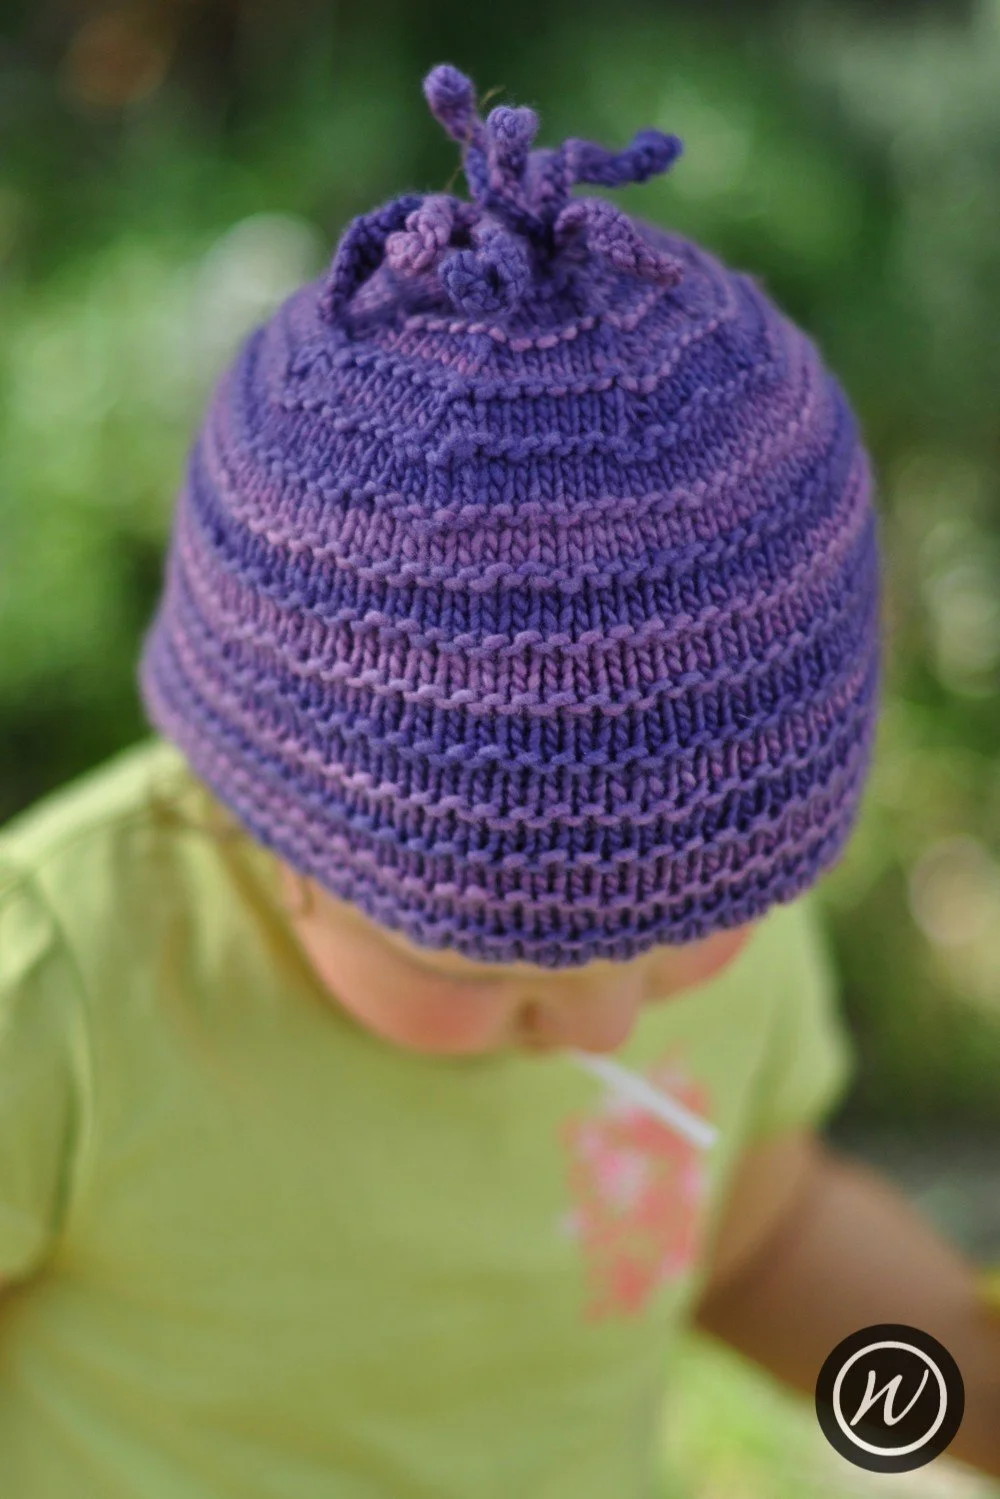
The Pootle pattern with 8 curly tendrils, worked in worsted weight yarn.

The Polpo pattern with 8 curly tendrils, worked in worsted weight yarn.
As you come towards the end of your Hat, you’ll have a remaining few stitches - somewhere between 6 and 10 is optimum - and just before the ‘break yarn and draw through remaining stitches, tighten to close’ instruction you’ll work the tendrils.
The decoration will be worked into each of the remaining stitches, starting with the first.
Using Cable Cast-on method, and using the next stitch to start the cast-on, cast on 15 stitches.
Using the Standard bind-off method, bind off 15 stitches and leave the last stitch on a holder.
Starting with the next stitch - which will be the 2nd stitch of the remaining stitches - repeat this process for each of the remaining stitches.
Once you’ve created a curly tendril for each of the crown stitches the decoration is finished. You will have one stitch for each tendril remaining, and it’ll be the same number of stitches that you started the decoration with.
Break yarn and draw through remaining stitches, tighten to close.
Support
Have fun with this finish! If you’ve a question about this technique, pop it in a comment below or visit the forum. I’m unable to offer help with patterns or techniques via email. I’d love to see what you do with this!
This tutorial was updated on 26th November 2021 with fresh photos and new links, and was republished from my drafts.


