

This tutorial demonstrates how to make an I-cord. A number of my patterns use this clever little technique, and they have many, many uses. They can seem a little fiddly at first, but once you've got your head round sliding your stitches to the other end of your needle instead of turning your work, they're a breeze.
To make an I-cord, you will need a pair of DPN needles in an appropriate size for your yarn. You can make a 2, 3 or 4 stitch I-cord, yet I personally find that a 3 stitch one works best.
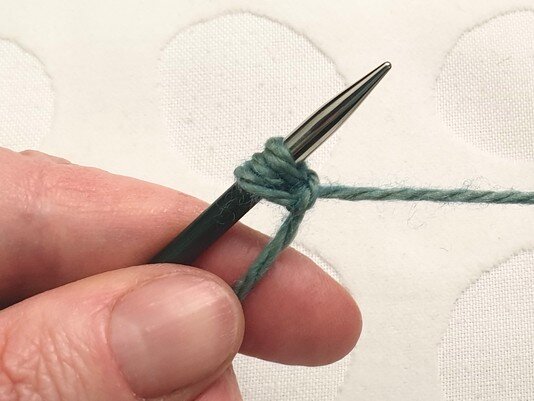
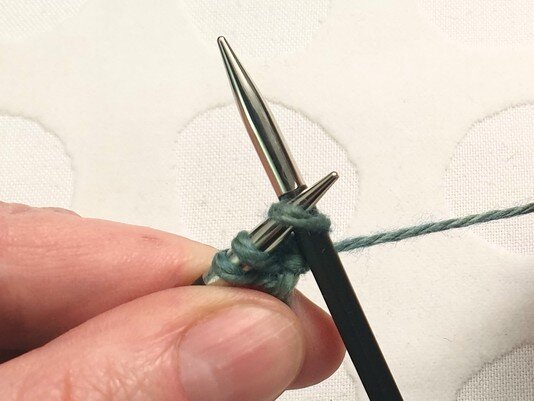
1) Using your regular cast-on method (I use the cable cast-on) cast on 3 stitches onto the first DPN.
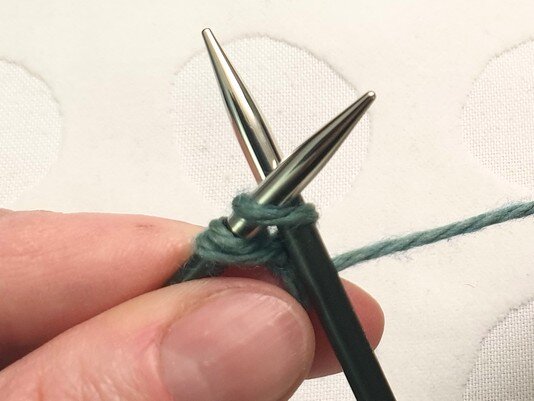
2) With the second DPN, knit those 3 stitches. Do not turn your work when all 3 stitches have been knit.
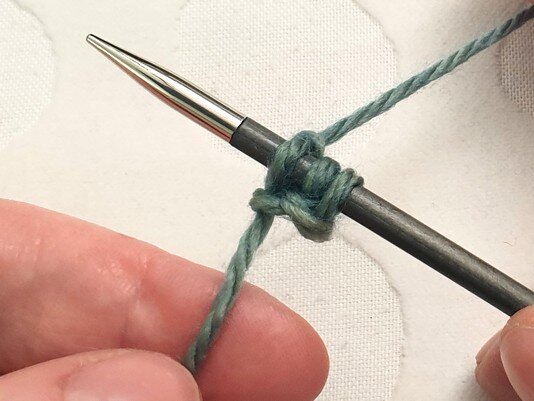
3) Now take your yarn behind the 3 stitches.
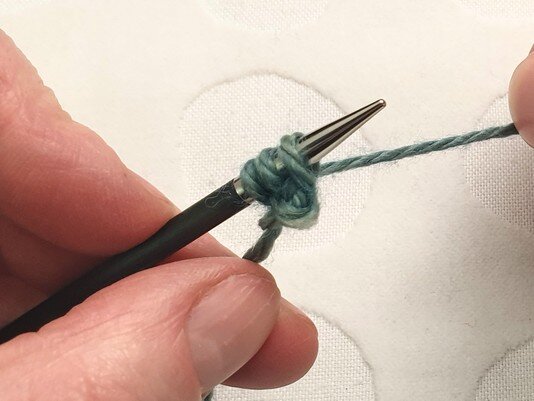
4) And slide the stitches along to the other end of the DPN needle; your right hand needle will now become your left hand needle, and vice versa, ready to knit again.
5) Repeat this over and over, always remembering to not turn your work, and instead slide the sts to the other end of the needle, and to take your yarn behind, ready to start knitting again.

Support
As always, if you have a question about this technique or need some help with it, leave a comment below! I’m afraid I’m unable to offer help via email or private message, but you’re welcome to post in our forums.
The photos in this post were updated on 29 January, 2021.


