
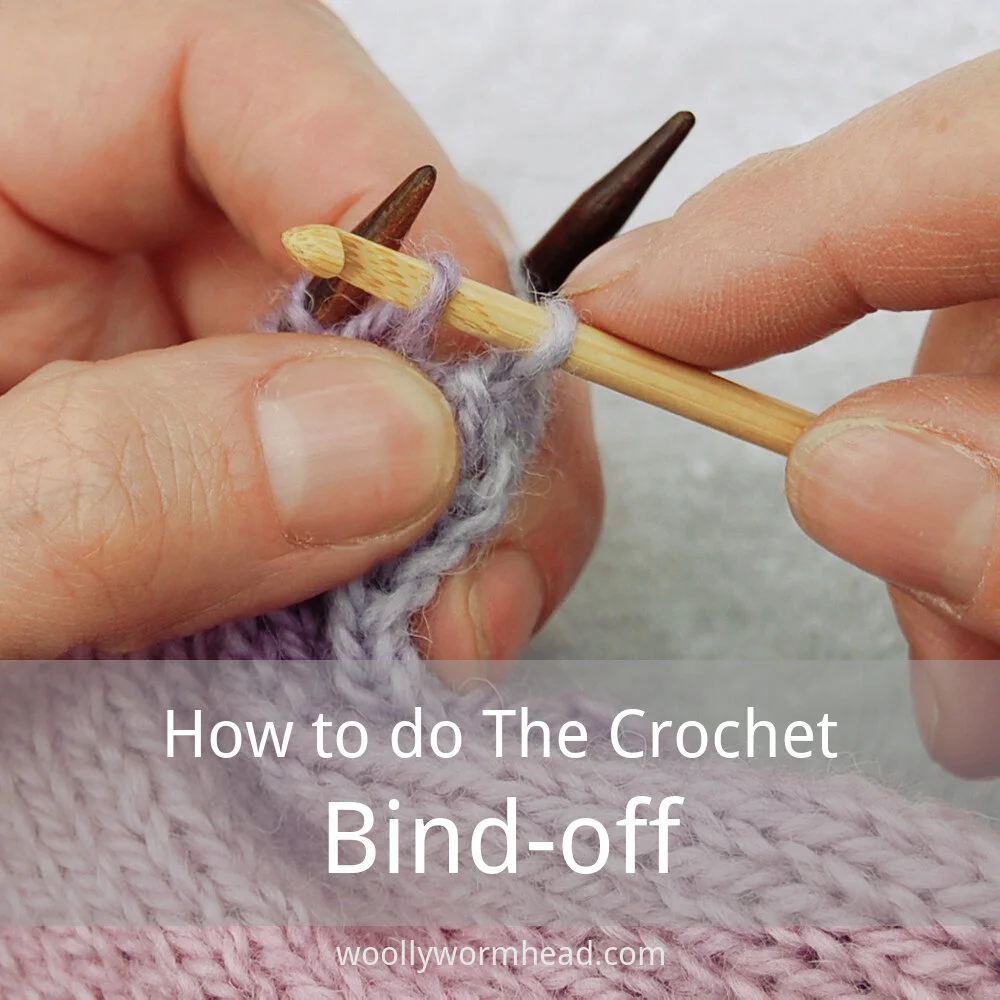
Another free tutorial for you today – this one is for the crochet bind-off that I favour so much.
This is a brilliant way to cast (or bind) off when you have run out of yarn or fancy an interesting finish that doesn't have the bulk of a 3-needle bind-off. It's the finish I recommend in both my Jester Hat and Tri-Peak Hat patterns, yet it can be used wherever you need a quick bind-off that needs to close two edges together.
You will need a crochet hook, one as close as possible to the size you will be using for the knitting. You could use a slightly smaller or larger hook if that's all you have but do try and aim for one close to your needle size.
Next, you will need to prepare your stitches – whether you are removing a provisional cast-on or shuffling stitches between needles, for this technique the setup is pretty much the same as a 3-needle bind-off – make sure your stitches aren't twisted and have them set up on parallel needles.
Ideally you want to have even numbers of stitches on both needles, but if you have an odd number of stitches, start with the needle that has the extra stitch.
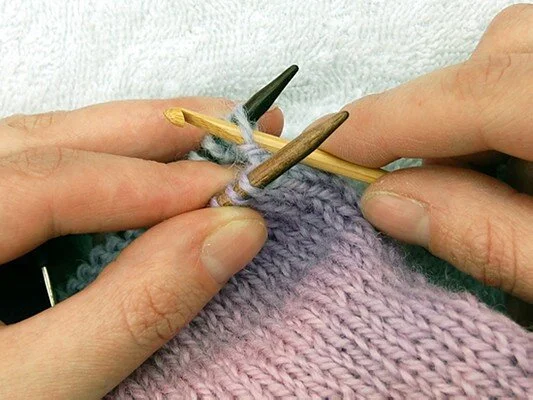
1) Insert crochet hook into the first stitch on the first needle (normally the back needle, but you can start on either)

2) Slip the stitch off the needle and onto the crochet hook.

3) Now insert the hook into the first stitch of the other needle – you'll take stitches from each needle alternately.

4) Slip this stitch off the needle and onto the hook.

5) Now with the hook slip the first stitch over the 2nd, leaving only one stitch on the hook.

6) Now insert the hook into the next stitch on the other needle.

7) Again, slip this stitch off the needle onto the hook.

8) Slip the stitch that was already on the hook over this new stitch, that is, passing the old stitch over the new stitch.

9) Repeat steps 3 to 8, alternating needles so that the stitches overlap evenly.

10) This is how the finished bind-off will look from the right side, which is a nice decorative finish.
Support
As always, if you have a question about this technique or need some help with it, leave a comment below! I’m afraid I’m unable to offer help via email or private message, but you’re welcome to post in our forums.


