

Following on from my blog post showing how to use the Alternate Cable cast-on for 2 by 2 ribbing, here's a glimpse at how to tackle cast-ons for both 2 by 1 and 1 by 2 ribbing. When Fiona left a comment asking about these ribs, it got me thinking, and then it got me experimenting.
First things first – just like 2 by 2 wouldn't work by casting on multiples of 2 knit stitches and then 2 purl stitches, casting on the stitches in a literal manner doesn't work for 2 by 1 or 1 by 2, either.
The cast on for a 2 by 1 or 1 by 2 rib is virtually the same as that for a 2 by 2 rib, except it has one extra step, performed during that first row when the stitches are juggled from our base 1 by 1.
For this blog post, I won't start from scratch with the basics of the Alternate Cable cast-on – I'll direct you to the main tutorial for that.
So, just like before, we'll start with our 1 by 1 Alternate Cable cast-on. Except this time, you need to cast on one third more stitches than you need. So if you need 60 stitches (a 2 by 1 or 1 by 2 works on a multiple of 3, right?) then you'll want to be casting on 80 stitches. Which means we'll always be casting on in a multiple of 4, and that is just how we want it.
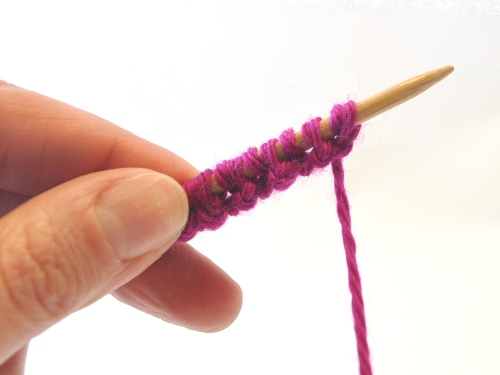
As you'll have noted from the other tutorial, I treat the first slip knot of the cast-on as a purl stitch, and after casting on the required number of stitches (including that first knot), the last stitch cast-on will be a knit stitch. I then work the first row flat, and join after that. It makes the first round sturdier, less likely to twist, and makes a much neater rib, as well as putting a knit stitch at the beginning of the round, which we're most familiar with.
2 by 1 rib, (knit 2, purl 1)
So let's start with 2 by 1 rib (knit 2, purl 1), because how we start that very first row is a bit different for each.
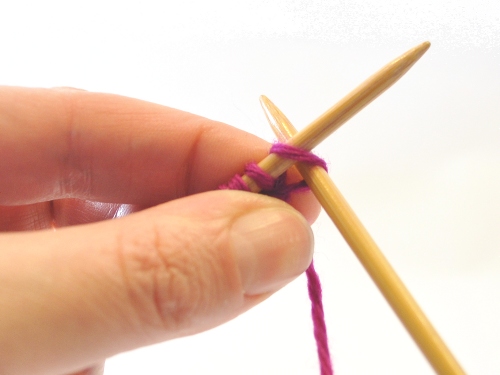
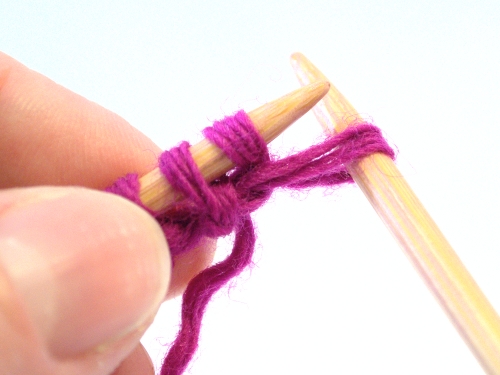
Our first flat row: knit the first stitch.
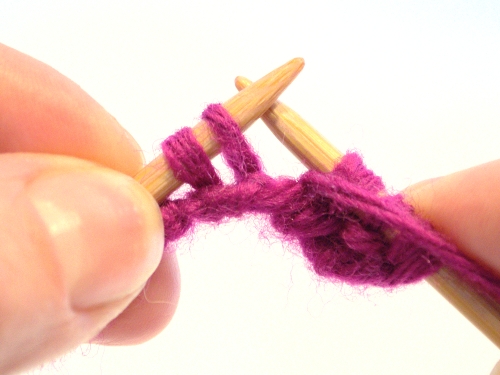
The next stitch we come to is a purl stitch, so before we do anything else, we want to swap that stitch around with the knit stitch following it. Remember to bring the knit stitch via the front when you swap them over, else it'll go rather pear-shaped.
This bit is the same as the 2 by 2 rib – swapping your stitches like this gets us the paired stitches sitting neatly together, and gives us that wonderful edge to the cast-on. If you're not sure about this step, I'll quickly refer you back to the 2 by 2 AC blog post to see this step in more depth.
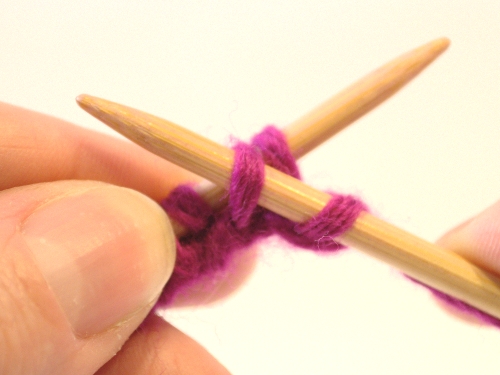
Then proceed to knit the next stitch....
... then we find ourselves with 2 purl stitches, which is exactly what we should have. And this is where the penny drops – we only want one purl stitch here, seeing as we're working a knit 2, purl 1 rib, and when we have 2 stitches and only want the first, what do we do? We decrease.
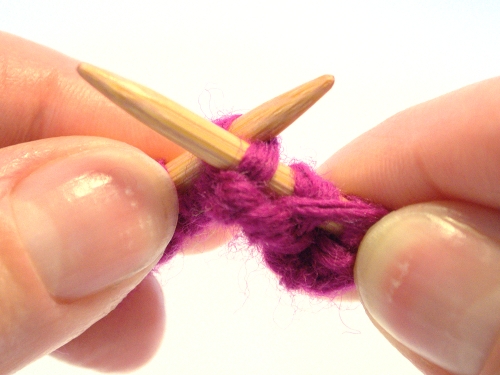
I found that the purl decrease that gave the neatest results was actually a purl 2 stitches together through the backs of the loops. At first I tried a regular purl 2 together, but didn't like the way the stitches were stacked on the reverse. This might not make much difference to some, but I do like having things look neat on both sides. Then I tried a slip the next 2 stitches knitwise and purl them together through the backs of the loops, but the stitch that was underneath wasn't quite hidden well enough, it wasn't snug. And so finally I tried the purl 2 stitches together through the backs of the loops and hey presto, it looked great. The twist doesn't actually notice and seems to strengthen up the edge that little bit more without compromising the stretch.
However, you may wish to experiment yourself to see if one of the other purl decreases works better for you. If you're not wanting to swatch several times over, than I'd say the purl 2 stitches together through the backs of the loops will give you good results.
And then we repeat the sequence: knit next stitch, swap next 2 stitches over, knit next stitch then purl next 2 stitches together. You should end with a multiple of 3 stitches, and after that you can work your ribbing as desired/instructed.
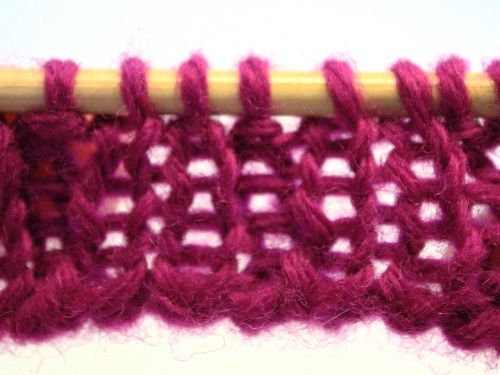
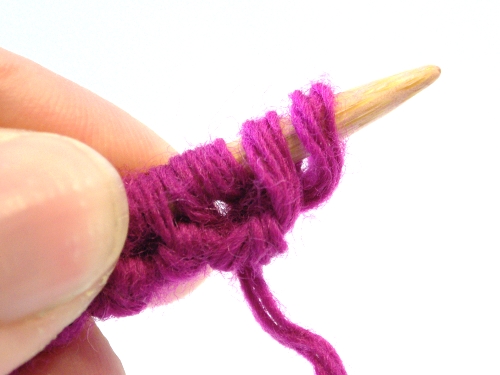
I think it looks pretty good (shocking pink yarn permitting). It isn't perfect, and it won't be – an unbalanced number of stitches like this will need a few tricks and juggling to create a cast-on that matches the stitch pattern. I didn't knit a whole Hat with this cast-on as I did with the 2 by 2, but I can tell you it is perfectly stretchy (that stitch we decreased is still there in the cast-on, giving us extra wiggle room) and neatens up even further after a good length of knitting.
1 by 2 rib, (knit 1, purl 2)
Now, let's look at its sibling, the knit 1, purl 2 or 1 by 2 rib. I've covered this one second as it's a little more fiddly to start, but not much, and then follows virtually the same method as the 2 by 1 with the purls and knits worked the other way around.
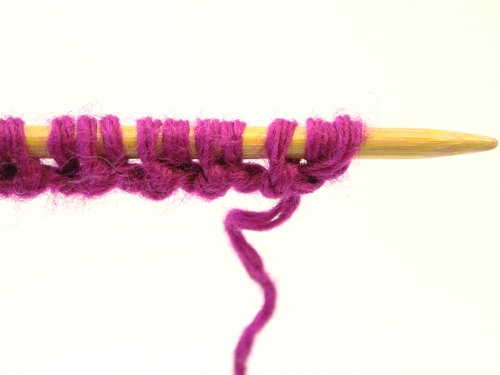
So, as before, we start with our 1 by 1 Alternate Cable cast-on.
Instead of knitting the first stitch as we have previously on the first row (worked flat), we're going to slip it, purlwise, onto the right hand needle and leave it there for a bit.
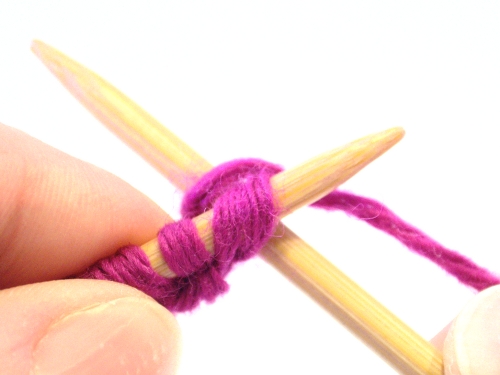
Then we do the whole swap the next purl stitch over with its following knit stitch, so that we have 2 knit stitches together at the beginning. This manoeuvre is the same for all 2 by 2, 2 by 1 and 1 by 2 variants. Remember to bring the knit stitch via the front.
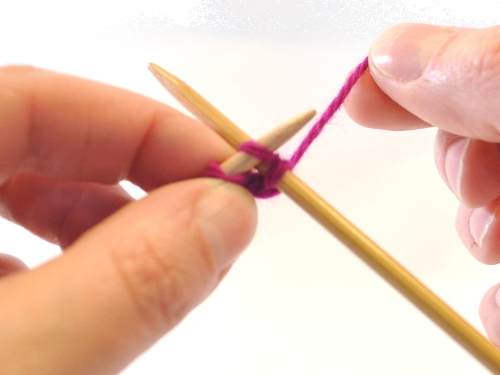
Once we've swapped the stitches over, then we slip that first knit stitch (the one that's been hanging out on the right hand needle whilst we juggle) back to the left hand needle.
And then we decrease. And just like before, I found the knit 2 together through the back loop the neatest knit decrease for the job.
There'll be 2 purl stitches waiting to be worked, and we purl them as normal.
And then we repeat the process again – slip knit stitch purlwise to right needle, swap purl stitch over with its following knit stitch, slip knit stitch back to left needle from right, knit 2 together through back loop, purl 2. Once we've completely worked all the stitches, we'll be back to a multiple of 3 and we can continue working the next rows or rounds in pattern.
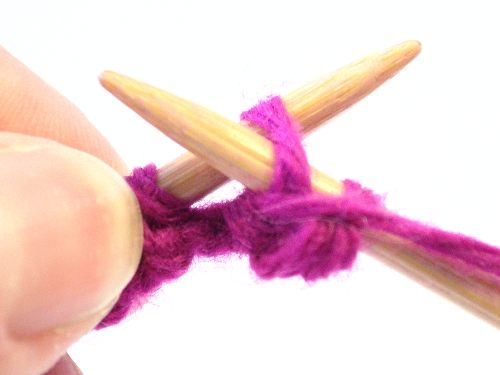
And voila.
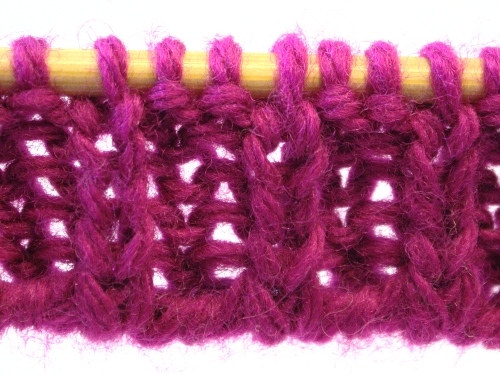
In this shot we can see how the decrease sits much more clearly, and really, it looks pretty good, don't you think? The twist from the knit 2 together through back loop doesn't notice, and the decreased stitch is nice and snug and not looking like we tried to lose it. Like I said before, it's not perfect and it can't or won't be, due to the pure mechanics of the stitches. That said, I do think it is worth the effort and looks way better than the alternative of a regular, non-rib cast-on.
Support
As always, if you have a question about this technique or need some help with it, leave a comment below! I’m afraid I’m unable to offer help via email or private message, but you’re welcome to post in our forums.


