
When we talk about sideways knitting, it means we’re working horizontally instead of vertically. Our knitting still grows on the needles just the same, but the finished piece will be turned through 90 degrees when it’s finished. Because of this, the properties of the stitches change, which is something I find absolutely fascinating! Where we might use increases or decreases to create shaping, such as the crown of a Hat, when we turn sideways, we use short rows to achieve the same results, and vice versa.
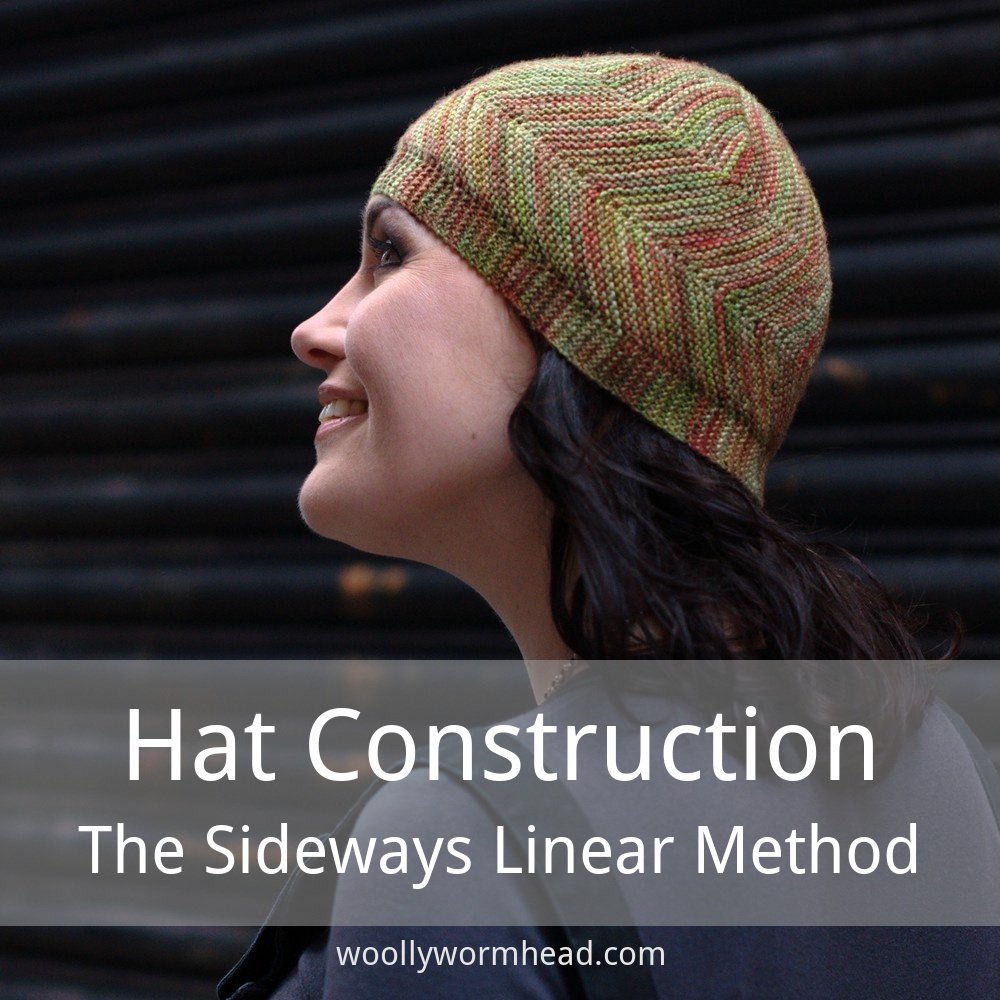
The method of making a sideways knit Hat – the Sideways Linear method – that I’m going to talk about today is the most common method, and it’s often assumed that this is the only way to make a sideways knit Hat – but it’s not! This method may also may be known as a short row Hat or side-to-side Hat. I’ll dive more into some of the other methods in following articles and explain the differences between them.
Before I go any further, I’d like to walk through what makes sideways knitting different from vertical knitting, and how the way we make a Hat changes as we switch it through 90 degrees.
Comparing the Vertical to the Sideways
Let’s remind ourselves of how a vertically knit Hat may look when it’s deconstructed.

Diagram 1: a schematic showing how a vertically knit bottom-up hand-knit Hat looks when deconstructed. There are 8 vertical rectangular panels, each topped with a triangle that represents the crown shaping decreases.
Diagram 1 shows the internal structure of a typical bottom-up beanie with 8 lines of decreases. If we’re knitting in the round, then the left and right edges will be joined. We don’t really notice that we’re knitting in columns or slices, but as a rule we are, as the crown usually determines the mathematical structure of a Hat – to make a simple bottom up beanie like this we’d cast on with a multiple of 8, because there are 8 lines of shaping or 8 points of decrease at the crown. Likewise, we won’t see those triangles at the top, as the crown shaping is worked continuously and consecutively in rows or rounds, but that’s the shape our stitches are creating when we decrease towards the crown.
So, let’s turn that on its side. Because really, that’s all we’re doing when we make a sideways Hat. We’re just turning things on their side.

Diagram 2: in this schematic we see Diagram 1 rotated through 90 degrees, so the rectangular panels now lay horizontally.
As we can see in Diagram 2, those 8 slices with the triangles that make up the crown shaping are there, only we’re seeing them from a different angle. The direction of our knitting has changed, as indicated by the long arrow to the side. But other than that, the innards of the Hat, the mathematical structure – the anatomy – hasn’t changed at all; the shapes are all still the same.
One distinct aspect of knitting a Hat vertically, whether it be top-down or bottom-up, is that we knit each part of the Hat separately and consecutively. In a bottom-up Hat we work the brim, then the body and then the crown, and vice versa in a top-down Hat. Because we’ve turned our knitting sideways, that has changed completely. Instead, we work part of the brim, the body and the crown in each and every row. One row of a sideways knit Hat – because that’s key, we work this method flat, not in the round – will see us work from the brim edge, what would be the bottom of the Hat when worn, to the crown, the top of the Hat when worn, and then back again on the return or wrong side row.
Key Sideways Techniques
To create the crown shaping, and for that matter any other shaping such as a beret may have between the brim and body, we use short rows. The crown short rows would be stacked, in that they’d always occur one or two stitches before the last one, and that’s what creates the triangular shape in the schematic above, much like decreases would. The stitches that have already been short rowed sit dormant at the end of the needle, and they’re equivalent to the stitches that have been decreased in a bottom-up Hat – they’re there, but they’re no longer needed in that section.
And this brings us to an important point. We don’t see the sections or slices in a vertically knit Hat because we knit them simultaneously, within every row or round. Yet in a sideways knit Hat, we knit each section or slice separately and consecutively. I call these sections ‘panels’ in my patterns, as I’ve found that’s terminology most folks seem to be familiar with.
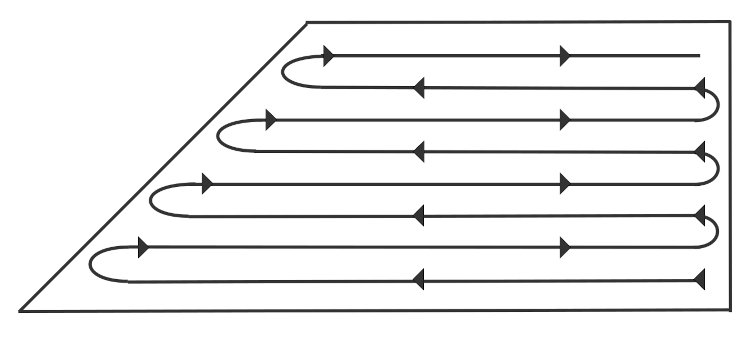
Diagram 3: here we see one single rectangular panel with it’s crown shaping triangle. The lines with arrows represent the direction our rows of knitting take.
Diagram 3 gives us an idea of the journey that the short rows would take within one panel. We’d start at the longest edge, working the short rows as they gradually get shorter throughout the panel, until we get to the end of the panel. We don’t short row every stitch, only those needed for the crown shaping. We’d then knit across all of the stitches – effectively closing the panel – and then start over to create the next panel.
And this is the why I call this method the Sideways Linear Construction method – the direction of our knitting doesn’t change – we knit each row one after the other and every row follows the same linear path. And because it’s a sideways method, we work each panel in turn, one after the other, repeating the panel instructions until the Hat is finished.
Ideally, we’d want a Hat worked this way to be completely seamless, and in every Woolly Wormhead sideways pattern you’ll find instructions to start with a provisional cast-on, then instructions to finish with a graft. A provisional cast-on is a false cast-on that can be removed at a later point, and grafting allows us to join two sets of stitches invisibly, as it mimics one full and complete row. These techniques may be unfamiliar or even daunting to some, and I think this is one of the drawbacks of this construction method, or at least, why this construction method isn’t more popular. Yet the techniques are not beyond anyone and I provide plenty of help via the website tutorials and tutorials within the patterns, as well as support via the forums and in online classes. Making Hats this way is something I get pretty excited about and I want you to enjoy it too, so I make sure I’ve got the skills and support covered ;)
As I mentioned briefly at the beginning of this article, when we turn our work through 90 degrees, the fabric properties and properties of the stitch patterns change. And some wonderful effects can be achieved!
When turned on its side, garter stitch effectively becomes a 1 by 1 ribbing. Garter stitch has a square gauge – 1 stitch = 2 rows or 1 ridge, which simplifies the maths, and that, coupled with its stretchy nature, makes it a popular base stitch for Hats made this way. Other stitch patterns, such as cables, take on a whole other look when we add them to a sideways knit Hat. Cables aren’t very stretchy, yet their attraction lies in the fact that we simply cannot recreate the same look of a cable running horizontally in vertical knitting. Colourwork changes, too – we can create vertical strips of colour without using stranded or intarsia techniques.

the ‘Diponaea’ Hat
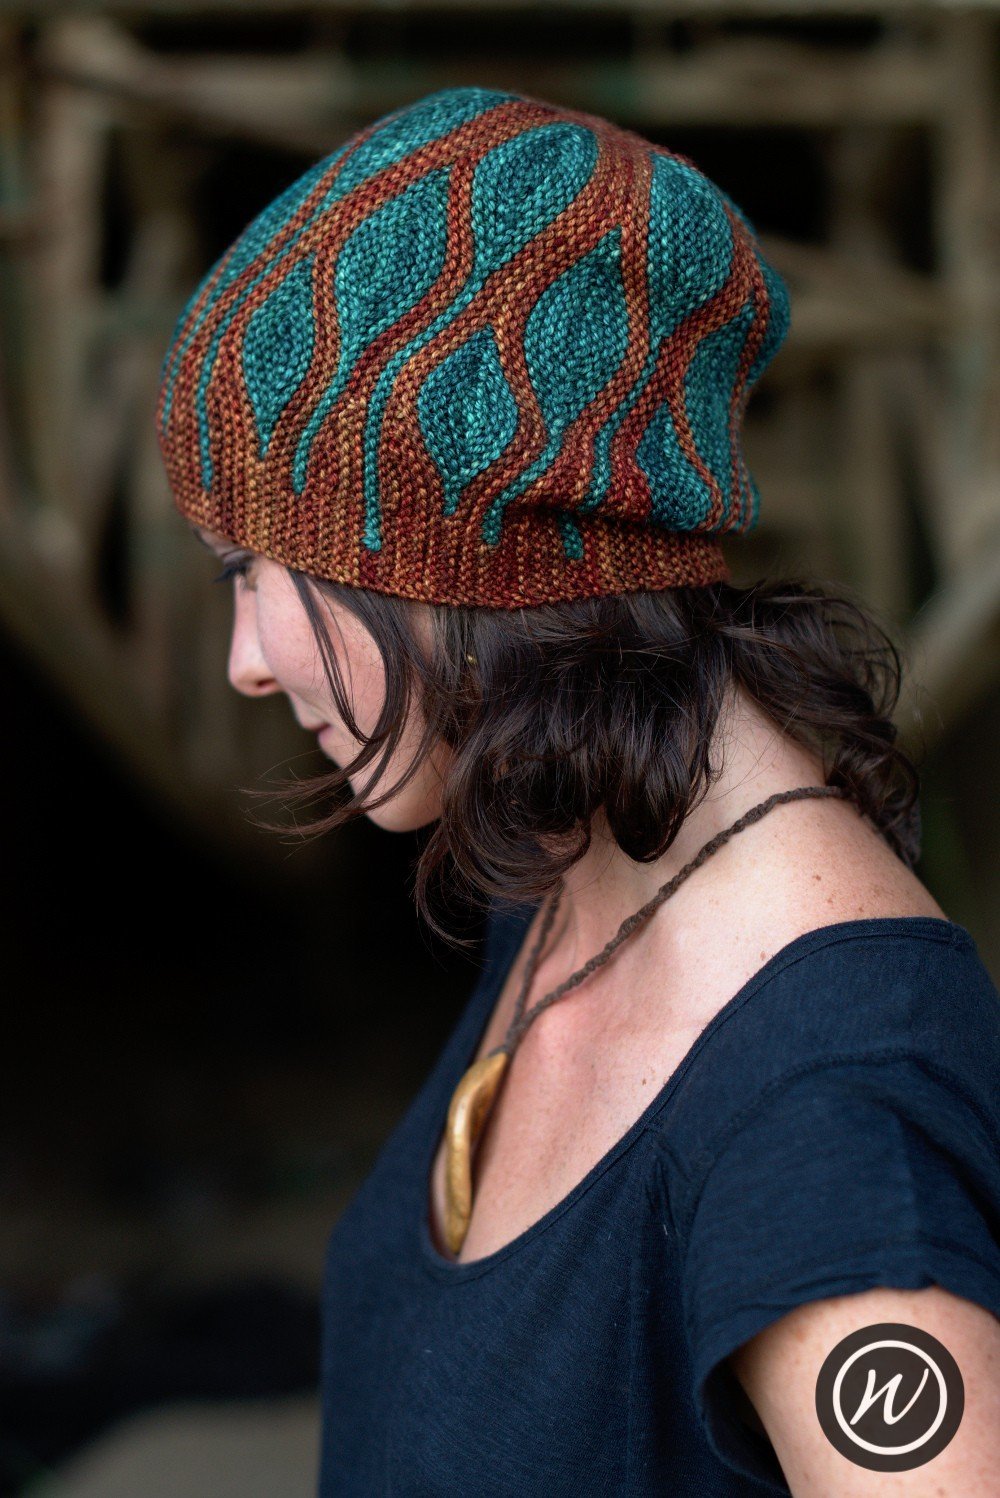
the ‘Toph’ Hat

the ‘Construct’ Hat

the ‘Misura’ Hat
Now that I’ve mentioned colour, sideways knit Hats absolutely love hand-dyed, variegated or handspun yarns! The panel nature either breaks up any pooling or makes a feature of it, a bit like a kaleidoscope. So many beautiful and interesting effects can be achieved by pairing a variegated yarn with a sideways Hat. This construction method makes a perfect canvas for these types of yarns; they really come into their own.
Another very useful thing about knitting a Hat this way is that size is so easily adjusted. Sure, you’d want an idea of depth before provisionally casting on, and it’s your stitch gauge that indicates depth, not row gauge, and vice versa. Yet you can decide the circumference as you go, and you can try the Hat on for good measure. And as it’s the brim that’s the only part of a Hat that consistently needs to fit, circumference is more critical than depth – if a Hat is too long you can wear it back for a slouchy look or fold up the brim. In many of my sideways Hat patterns, I’ve been able to offer a wider range of sizes and more customisable options for depth or slouch than my vertical Hat patterns, and that’s all because you don’t need to decide how big the size – the circumference – should be before you cast on.
For me, though, there’s another reason why sideways Hat knitting will always be an all-out winner, and it’s a reason that’s rarely mentioned. Because we knit the same panel over and over, we get the chance to improve our skills. Each panel can act as a swatch if you’re unsure of your yarn choices. This kind of repetition can be good for the brain, practice makes perfect, etc. And there’s more to it than that.
I wouldn’t normally say this out loud, but I tend to get a bit bored knitting vertical Hats. Motivation dwindles part-way through the body, although if it’s a chunky yarn I’ll usually reach the crown shaping and then I’m on the home run. With a sideways knit Hat, it’s different. Each panel is relatively quick, with just enough challenges to keep it interesting but not too many, and the process gets repeated. If you lose your place, it’s not too far to rip back. If you don’t memorise the instructions, then no biggie, it’s just one panel that you need to remind yourself of. There’s no need to wade through a long set of instructions trying to find out where you were.
I have ADHD, and when I finally got my diagnosis, a lot of things fell into place about why I love designing Hats this way, and why I write my patterns the way I do. It also helped me to understand how sideways knitting can be a more accessible approach to making Hats.

the ‘Lenina’ Hat

the ‘Juxta’ Hat

the ‘Marina’ Hat

the ‘Muratura’ Hat
If this has piqued your curiosity, I’ve a lot of sideways Hat patterns to choose from! There’s a whole section you can search through and there’s also some free ones you can start with, too. Toph is my most popular pattern ever, but if colourwork isn’t your thing, Juxta, Muratura or Marina would be good Hats to try.


