
Can you believe I just typed all this out and then the blog editor lost it? Doh!
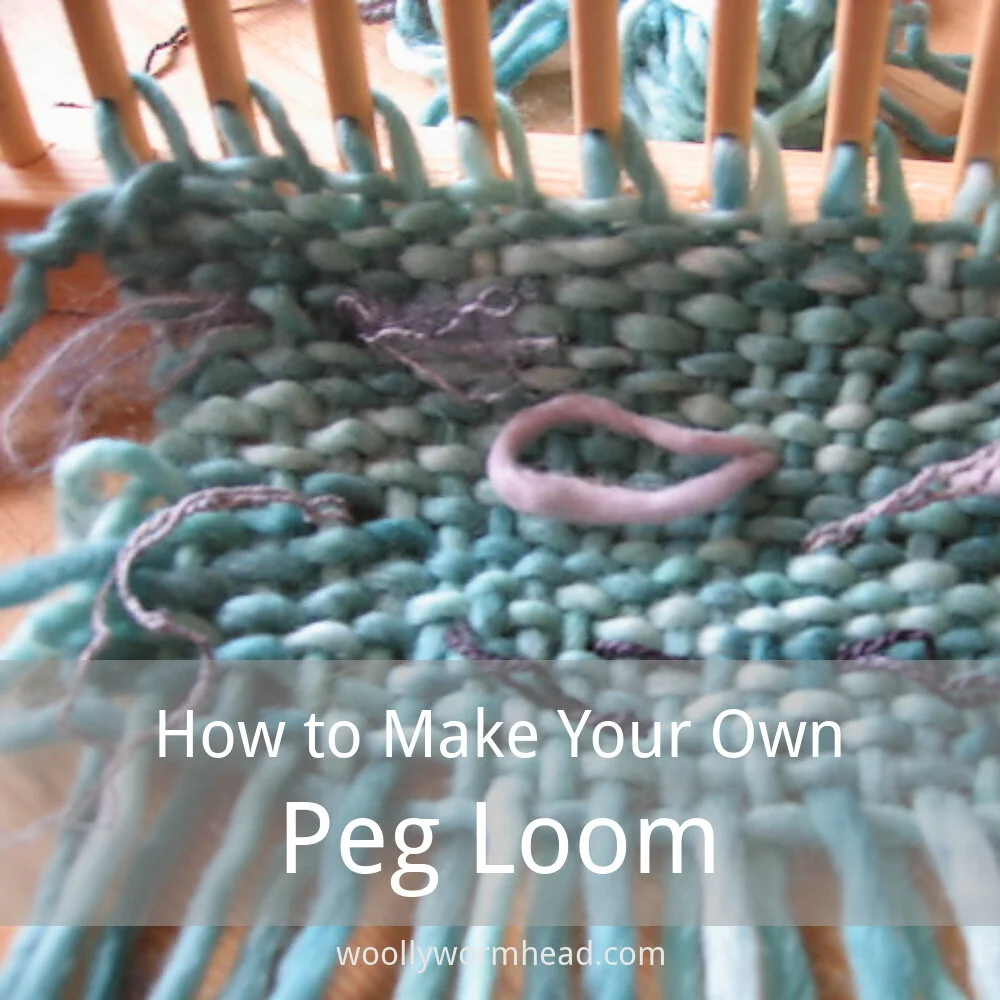
Ok, here's the basic instructions for building your own peg loom. We worked a few bits out for ourselves and changed some of the basic design. I like peg looms for their simplicity and ease of storage. Unlike some of the simple frame looms and smaller tapestry looms, you're not restricted by length. And they offer more strength than weaving sticks. So here we go!
Buy your bits:
Approx. 3 metres (about 3 yards) of wood dowelling – I used 9 millimetre (0.35 inch) diameter
Length of timber – I used 32 inches length of 1.5 inch by 1.5 inch
2 small table clamps or square G-clamps
Waste wood to support drilling
Get your tools out:
Drill
Table vice
Small saw
Various drill bits; 3 or 4 millimetre (1/10 to 1/6 of an inch), plus size to match dowelling
Tape measure
Pencil
Sandpaper
Now get busy!

1) Using the small saw and vice, cut the wood dowelling to 3-inch lengths. They can be longer if desired.

2) Mark along the centre of one edge of the base length (mine was 32 inches), and then mark 1-inch divisions along it.
3) Using the waste wood beneath the base length, drill into each mark. Best to mark the drill bit to about 1 or 1.5 inches so you don't go too deep. These will be the holes for the pegs, so it’s ideal to check they fit... you don't want too much room around the pegs. Also, you want at least 2 inches of the peg sitting above the base to work with.
4) The tricky bit! You need now to use the smaller drill bit to make the hole for the warp threads. Mark the centre of the peg about 1.5 inches from the top. Do use the vice though and take your time – you want a hole through the centre, not rearing off towards the side!

5) Along one side of the base length, about 6 inches in from each edge, make a mark close-ish to the base. These will form the slots for the table clamps. Don't be too close to the base or too high – you don't want them to interfere with the peg holes.
6) Carefully drill a few adjacent holes with the smaller drill bit along these marks. Tidy up with a chisel if necessary, so you get a slot (or long wonky hole, depending on your skill).
7) Sand all pieces to avoid snags on yarn. If you live with a power tool junkie, as I do, then you could use one of those nifty Dremel tools or similar for this job. Otherwise plain old sandpaper will do.
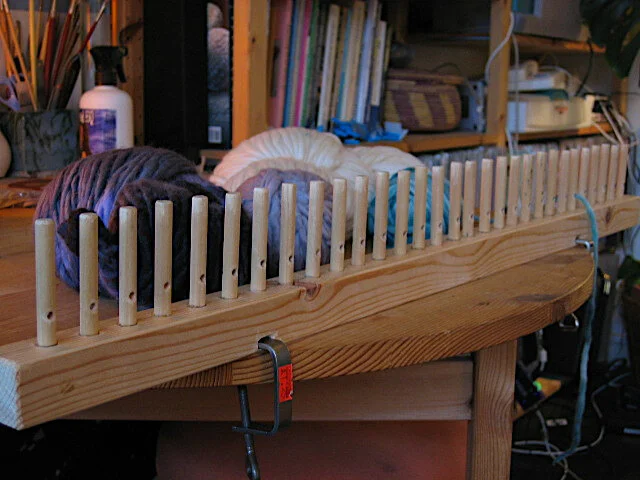
8) Put it all together and get weaving! Make sure the peg holes are lined up and that the warp threads go from front to back evenly.
9) Oh, just a thought... don't forget to hoover up before you get engrossed in weaving. Sawdust gets everywhere.

The wood for this cost a grand £2.53, and you can get the table clamps cheap enough from D.I.Y. stores. It took us an afternoon to build, and we were being fussy about detail and using the nifty Dremel tool. Worth a go, eh?
Disclaimer!
Ok, so I've posted this, but I'm not responsible for what you get up to (ooh er)! Just remember your basic health and safety, and if you don't know how to use the tools... bribe someone who does! And it doesn't matter if it isn't perfect, so long as it does the job. Happy weaving!
Support
As always, if you have a question about this technique or need some help with it, leave a comment below! I’m afraid I’m unable to offer help via email or private message but you’re welcome to post in our forums.


