
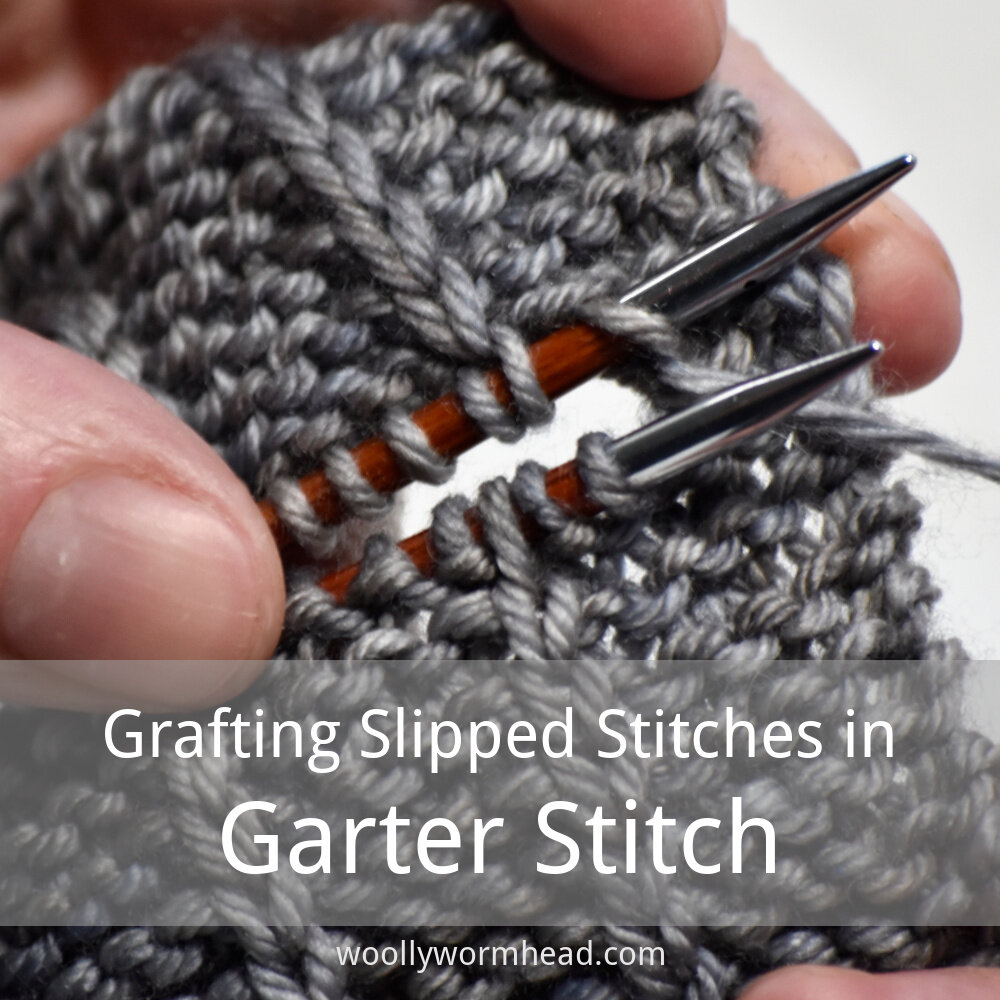
This tutorial has been written specifically for the Circled Hats collection, but can also be used in any situation where you may be wanting to graft slipped stitches, in particular slipped stitches on garter stitch.
Having successfully prepared our stitches for grafting, as outlined in pt1, we're ready to graft the slipped stitches. The patterns that this tutorial and grafting method are designed for has garter stitch between the columns of slipped stitches, and you will need to refer to the tutorial for grafting garter stitch for those sections.
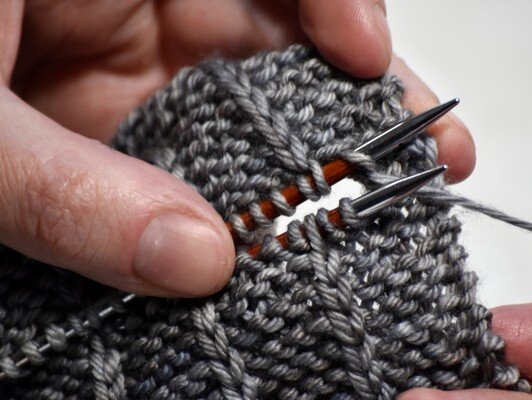
1) Work as per the garter stitch graft until you reach this point – there will be two stitches on the front needle before the slipped stitch, and one stitch on the back needle before the slipped stitch legs. (remembering that the back needle, which contains the released stitches, will have one less stitch in the garter section, and two legs in place of the slipped stitch)

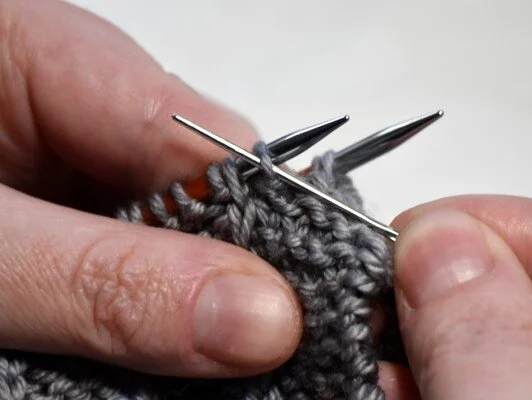
2) Stitch 1, front needle – insert the needle knitwise, pull the yarn through then slip the stitch off the needle.

3) Stitch 2, front needle – insert the needle purlwise, pull the yarn through but leave the stitch on the needle.

4) Stitch 3, back needle – insert the needle knitwise, pull the yarn through then slip the stitch off the needle.

5) Stitch 4, back needle – insert the needle knitwise, pull the yarn through but leave the stitch on the needle.
6) Stitch 5, front needle – insert the needle purlwise, pull the yarn through then slip the stitch off the needle.

7) Stitch 6, front needle – insert the needle purlwise, pull the yarn through but leave the stitch on the needle.

8) Stitch 7, back needle – insert the needle purlwise, pull the yarn through then slip the stitch off the needle.

9) Stitch 8, back needle – insert the needle knitwise, pull the yarn through but leave the stitch on the needle.

10) After working the combined graft for the slipped stitches, continue working a garter stitch graft until you meet the next slipped stitch point, as indicated above. Repeat the process until all stitches have been grafted.
Support
As always, if you have a question about this technique or need some help with it, leave a comment below! I’m afraid I’m unable to offer help via email or private message but you’re welcome to post in our forums.


