My want to reduce the amount of knitting I do, and in particular knitting with finer yarns, hasn't dampened my yarn buying!

I was keen to visit River Knits and check out her yarns, and I wasn't disappointed. With her family she lives on a canal boat and I can't not support another nomadic creative sort, and I came away with these DK yarns.

The speckles is right out of my comfort zone, and I've already wound it for some mindless knitting to keep my fingers busy as we travel this summer, for what will likely be a future free pattern come grafting tutorial.

Both yarns are gorgeous, this is one talented dyer.

I'm rather excited about this yarn, I must say. It's from 3rd Vault Yarns and I kinda wish at this point that I hadn't already busted my budget as there were more gorgeous colours! All of her yarns are Sci-Fi inspired, and being the Sci-Fi fans that we are (though not total geeks - I'd fail any quiz) they struck a chord.

This is definitely going in the future design stash - those flashes of colour are sublime.

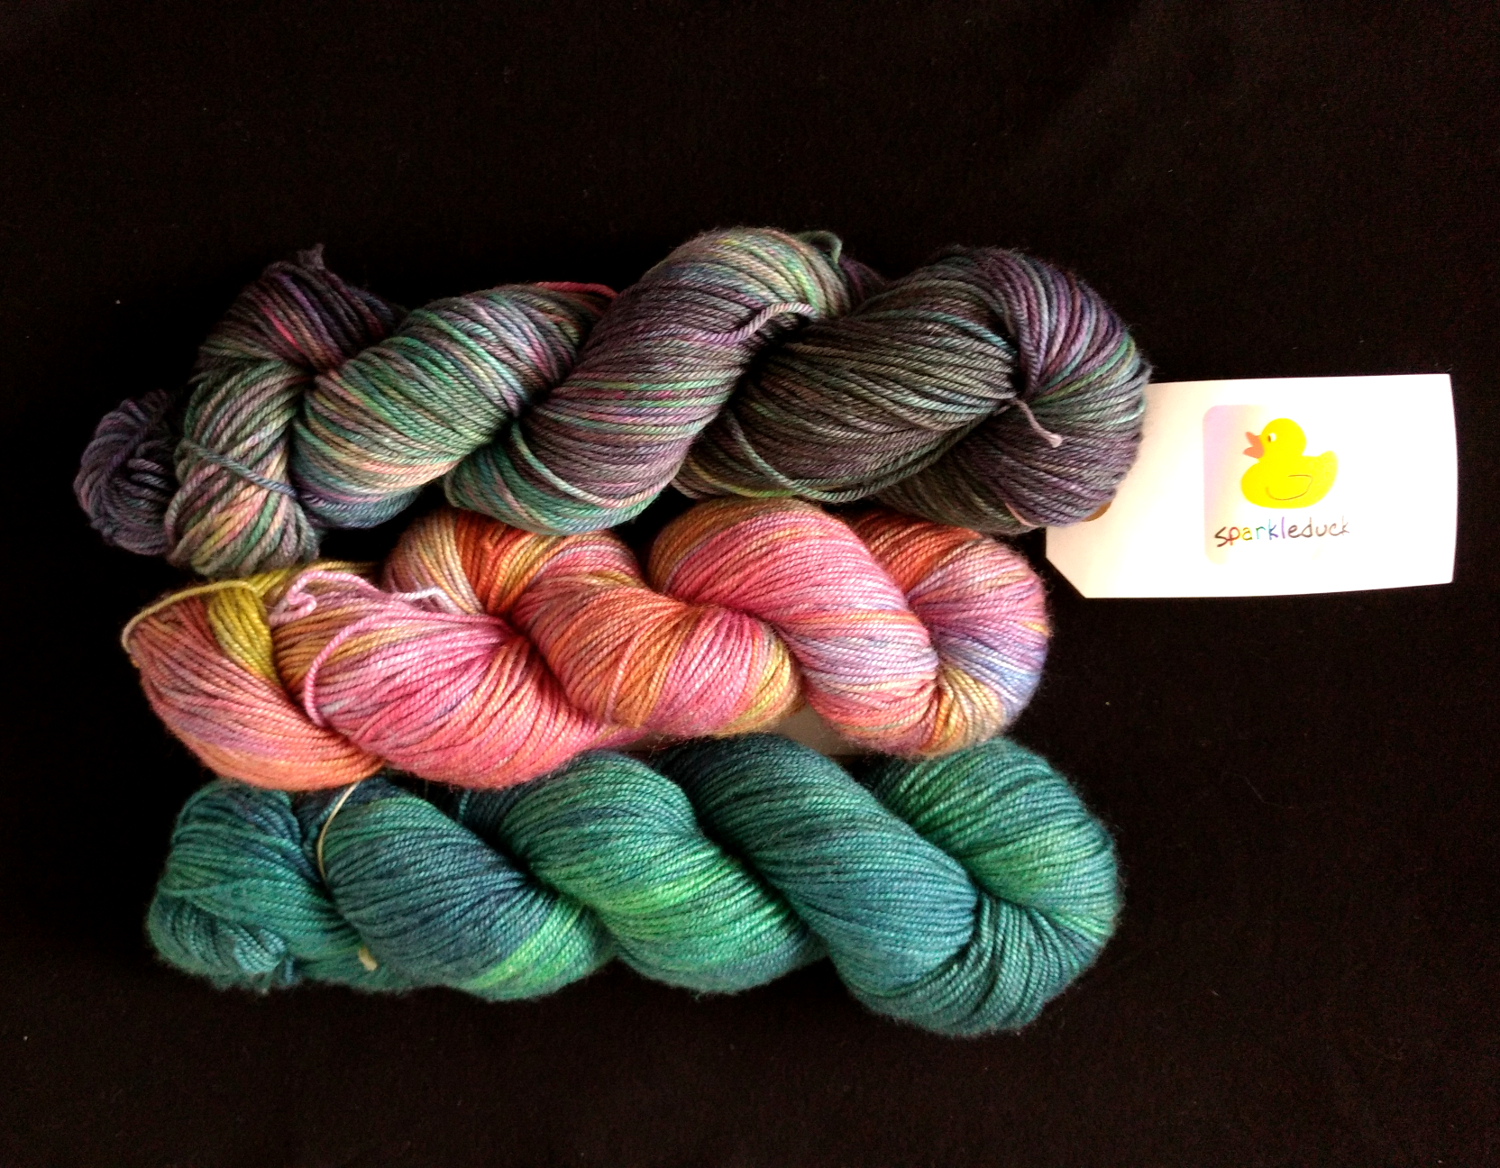
And finally, I couldn't not buy any SparkleDuck yarn. 

I didn't know Michael would be at the show until the saturday morning, and as soon as I had the chance I went to find him in their usual spot to give him a hug. It made me cry; I can't imagine how Michael would have felt or managed throughout the show but he did, with so much support from the Cambridge knitters and Fibre East regulars. So many knitters went home with SparkleDuck yarn in their bags, to do wonderful things with them in Heather's memory.

These yarns don't belong in my stash; Michael took SparkleDuck to the show because Heather would have wanted her yarns in the hands of knitters, being used, and I didn't want to buy them only to have them sit in my boxes. So I bought them to give away as random lucky dip type prizes during my MKAL this year. Buying them to share felt like the right thing for me to do.

I generally only get the chance to buy yarn as shows these days, and thankfully I'm not visiting anymore for a while, as there's not much more space in my studio! Working with indie dyers is my preference when it comes to designing and yarn choices, and I'll always try to buy a few skeins when I can - some become designs, some prizes or gifts. 

And now I'm going to spend the rest of my Saturday knitting some RiverKnits speckles, watching CSI back to back.

Posted
AuthorWoolly Wormhead
2 CommentsPost a comment

We've recently finished this beautiful wall in our garden!

 
upload.jpg
 

One of the downsides to winning our legal battle is the increased level in tourism. It's not all bad - it's good that people can come and see how we live, see what we do - it's helps us and our lifestyle to become more acceptable within mainstream society.

But with that increased interest comes a lack of privacy. We don't have  boundaries in the traditional sense, no gates or fences, and our plots appear intermingled and organic. These factors lead people to not consider our privacy, because in many minds the lack of visible boundaries equates to everything being open and accessible.

And so we've been getting creative in ways to put that privacy back into place. One problem area for us is the path that runs from the top of the plot down to the bus door - it's a long straight line, visible from the public areas of the Yard - and people are constantly walking down it, seemingly oblivious to all the other indicators that this is a private area. 

 
upload.jpg
 

With my love of using old tyres and growing hardy succulent plants, we decided to build a tyre wall. A tyre wall would be in keeping with the plot, and wouldn't be as hard or aggressive as a more traditional wall or fence. It would let light through, and I could use the space as a vertical garden, as well as reuse and upcycle a while bunch of tyres destined for disposal.

 
upload.jpg
 

The best tyres for this job are small motorcycle or moped tyres - their inner circle is smaller, and less see-through. 

These kind of tyres take a bit of hunting, they're not as abundant as car tyres. Once found though, they'll make a much more interesting feature and useful wall than car tyres.

If you're working with tyres that are all the same size, slotting them together so that all the tyres touch and connect is pretty easy. You're more than likely however to have odd-sized tyres, and they take a bit of juggling to get right. I also think odd tyres looks better, too - they're more interesting, visually.

Structurally, those tyres all need to connect - they all have to be bolted together in as many places as possible to ensure the wall is stable - any gaps between tyres is going to cause problems.

Once you've got the layout just right, you'll want to screw them together temporarily to allow the rest of the structure to be built around them.

 
upload.jpg
 

Maintaining the circular pattern was important to us, and we didn't want to reinforce the structure with metal going right across the tyres. Instead, Tom used steel rods that could be bent around the tyres and connected, to help hold them all in place. Mig welding is required for this bit, but it's an easy project to manage.

The rods are curved so they sit around the tyres, with the structure appearing on both sides of the wall. The rods are then joined with bars to ensure a stronger skeletal structure. 

There are lots of different ways you could do this, and a frame built from scaff would also be a good choice, especially if the tyres are all similar in size. 

 
upload.jpg
 

Once this part is done and the metal skeleton is all in place, those temporary screws were then replaced with nuts and bolts and small flat pieces of aluminium within the tyres to make those connections rigid, and the tyres less likely to tear. 

From there, the next dilemma was triangulation - the wall is strong but flexible in and off itself, but it needs support vertically against the container it will be connected to. 

Again, this was managed discreetly with steel rods, and I don't think I managed to get a photo of this bit, sorry! Anyone building something like this should already know about triangulation but if they don't, Google is your friend.

In terms of metal choices - these steel rods are flexible and easy to bend, and they will also rust over time and blend in to the general environment. We're lovers of rusty metal; it ages and changes and tells a story all it's own - constantly shiny can get a bit boring ;)

And with the wall securely in place, the next task was planting! 

 
upload.jpg
 

When it comes to plants, I really wouldn't recommend anything other than succulents (including cacti). They have a very small root structure, store water in their leaves, and *love* the heat and sunshine. The tyres will get hot and most plants wouldn't handle a small, hot root space.

I grow a fair few winter hardy succulents on the plot, and they're something I've grown and collected for many, many years - I know pretty well how they behave.

For instance - quite a few of the moveable planters in our garden are old washing machine drums. Most plants suffer with the heat and dehydration in these metal containers, and die. However all of the cacti and succulents - whether they be the Opuntias, Aloes or Delospermas - thrive. The heat at their roots doesn't bother them. And the lack of root space really isn't a problem, either - the Opuntias in the washing machine drums are a good size!

For our tyre wall I wanted a mix of small bushy succulents and trailers. Most of these I had around the garden already and know their hardiness, but I did buy a couple of Delospermas at the local nursery, as their flowers are beautiful and I fancied some colour amongst that structural greenery.

 
upload.jpg
 

These plants (known as Ice Plants in their native South Africa) are slightly more tender then most of the Sedums, Echeverias or Crassulas I've planted in the wall - they tend to dislike too much frost or lack of sunshine in the winter. The positioning of the wall however should mean they get sun most of the day, even in winter, and they should be fine. The plants I bought were too big for the tyre space so I split them and have spares, just in case. 

And that's pretty much it, really! I haven't yet got full photos of the wall, as the sun is over exposing everything if I step back to fill the frame, and the shade Tom put up to work under is still up. Until then, here's a section of the wall, in its freshly planted glory. 

 
upload.jpg
 

I can't wait to see how this wall grows and develops! And before Tom had finished building the wall, it was already serving it's purpose - the line of sight is broken and it's given visitors to the Yard something much more interesting to look at than our garden path. 

Don't forget that if you're on Instagram, the #tyregardenofmutonia tag is the one to check to see more about our garden. Enjoy! 

Posted
AuthorWoolly Wormhead
2 CommentsPost a comment

Indeed you can pop over and listen to myself and Nadia chatting about all sorts!

We recorded the interview in the magnificent ballroom that I taught in, which does give it a bit of an echo, but don't let that put you off. We had a good laugh whilst recording, and it really was a fun thing to do.

(shall I confess that we sat on the floor inside a large wardrobe unit within the ballroom to reduce the echo? We tried sitting in every part of the room, and it was really the only room available to us! It's certainly a day to remember ;)

button for patreon
All of the free patterns and tutorials on this website are supported by my amazing Patreons! If it wasn't for them I wouldn't be able to continue to produce or host freebies. We'd love to have you join us and in return, you get exclusive behind-the-scenes material, member-only discounts and early access to new free content. Membership starts at $1 per month. You can also say thanks for the freebie via the Tip Jar.
HatBlockingPart1.Square.BlogMain.jpg

These coated splatter guards cost me €1.20 from the local cheap import shop. And they're perfect beret blockers.

I'd not thought of using splatter guards before as they're not something we use in our kitchen (way to much hassle to wash up, if you ask me) but when I saw the new silicone one that my Step Mum had bought recently, I saw their potential.

The silicone ones with a side handle would need the handle taken off with a hack saw, filed and then sealed again to stop the water getting in. The silicone ones though are at least a tenner each, and with all that work, I opted for these cheap coated ones with a centre handle at a fraction of the price! The other benefit of the silicone ones is grip - these coated ones won't help the wet Hat stay on quite as well. But that's OK if you leave it alone whilst it's drying.

They let the air through and allow the Hat to dry without turning, and are perfectly flat - no more plate shaped berets! And the 29cm diameter one is spot on for a standard beret. Bingo!

HatBlocking.2.jpg

1) Gently stretch the beret over a suitably sized splatter guard, and place in the wool bath.

2) As you lift the beret out from it's soak, gently press to remove excess water then place it between two towels to soak up even more water.

3) Then allow the beret to dry naturally on an airer or even standing against a work surface – wherever it can rest and dry undisturbed. Once the beret is dry, remove the splatter guard.

4) Placing the splatter guard inside the beret before soaking prevents any stretching of the brim and helps maintain shape. Should you place the guard inside the beret after soaking then gently reshape the brim by smoothly it inwards towards the centre as the beret dries flat.

ps/ yup, that's the beret from my previous post blocking!

Support

As always, if you have a question about this technique or need some help with it, leave a comment below! I’m afraid I’m unable to offer help via email or private message but you’re welcome to post in our forums.

Posted
AuthorWoolly Wormhead
3 CommentsPost a comment