

When it comes to new techniques, I’m always like “how would I graft this?” Because if I can’t graft it I’m not sure it’ll be of use to me!
Wrap and Turn short rows are completely graftable. There’s a bit of fiddling to be done, purely because you can’t graft into the back of a stitch - assuming you did that when working across your short row wraps - so we have to do that manually. Otherwise, it’s just like grafting stocking stitch.

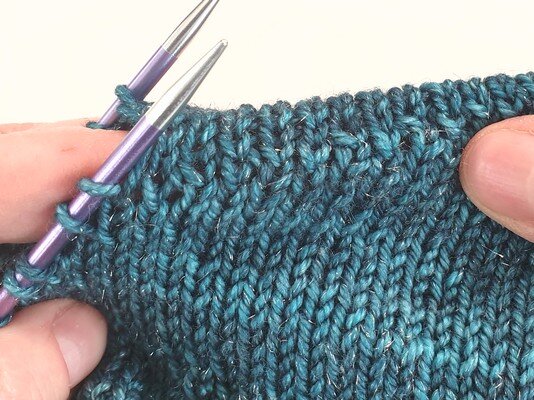
1) You’ll likely meet the first wrap that needs to be grafted as a 2nd stitch in the grafting sequence. Work step 1 of the graft as you normally would for stocking stitch.

2) insert the tip of your darning needle into the wrap to lift it, just as you would your needle tip when working across the wrap. Insert the needle up into the wrap.

3) having lifted the wrap, place it on the left needle next to it’s stitch

4) insert your tapestry needle into the backs of the stitch plus it’s wrap

5) lift them off the needle and turn them towards you….

6) and place them back onto the left needle. This has manoeuvre is the same as knitting into the backs of the loops - it twists the stitches towards you, or clockwise.

7) then treat the stitch and it’s wrap as one stitch - and as this is the 2nd part of the kitchener manoeuvre on the front needle, you’ll insert your needle purlwise.

8) When you come to the next grafting steps on the front needle, the stitch and it’s wrap will be the first stitch you work, i.e. knit and slip off the needle, and again you’ll just treat them as one stitch.
9) And this is how they look when done! This sample had short row wraps on every other stitch throughout the crown, not every stitch, so they’re less noticeable. But the grafted wraps don’t look any different to the knitted wraps :)
You can of course treat the wraps just the same when grafting any other stitch pattern - the important bits are Steps 2 to 6.
Support
As always, if you have a question about this technique or need some help with it, leave a comment below! I’m afraid I’m unable to offer help via email or private message but you’re welcome to post in our forums.
The photos in this post were updated on 31/1/2021.


