Some time early last year, probably about a year ago now, I started swatching and developing an idea that felt fresh and clean and made me feel, well, as if my brain was fully functioning again. The concept made me feel like I'd broken through the fog, and working out the technical side made me feel clever.
Strong words, huh?
What I was aiming for was a perfect marriage between my love of circles, and my love of sideways knitting and grafting. And I achieved it.
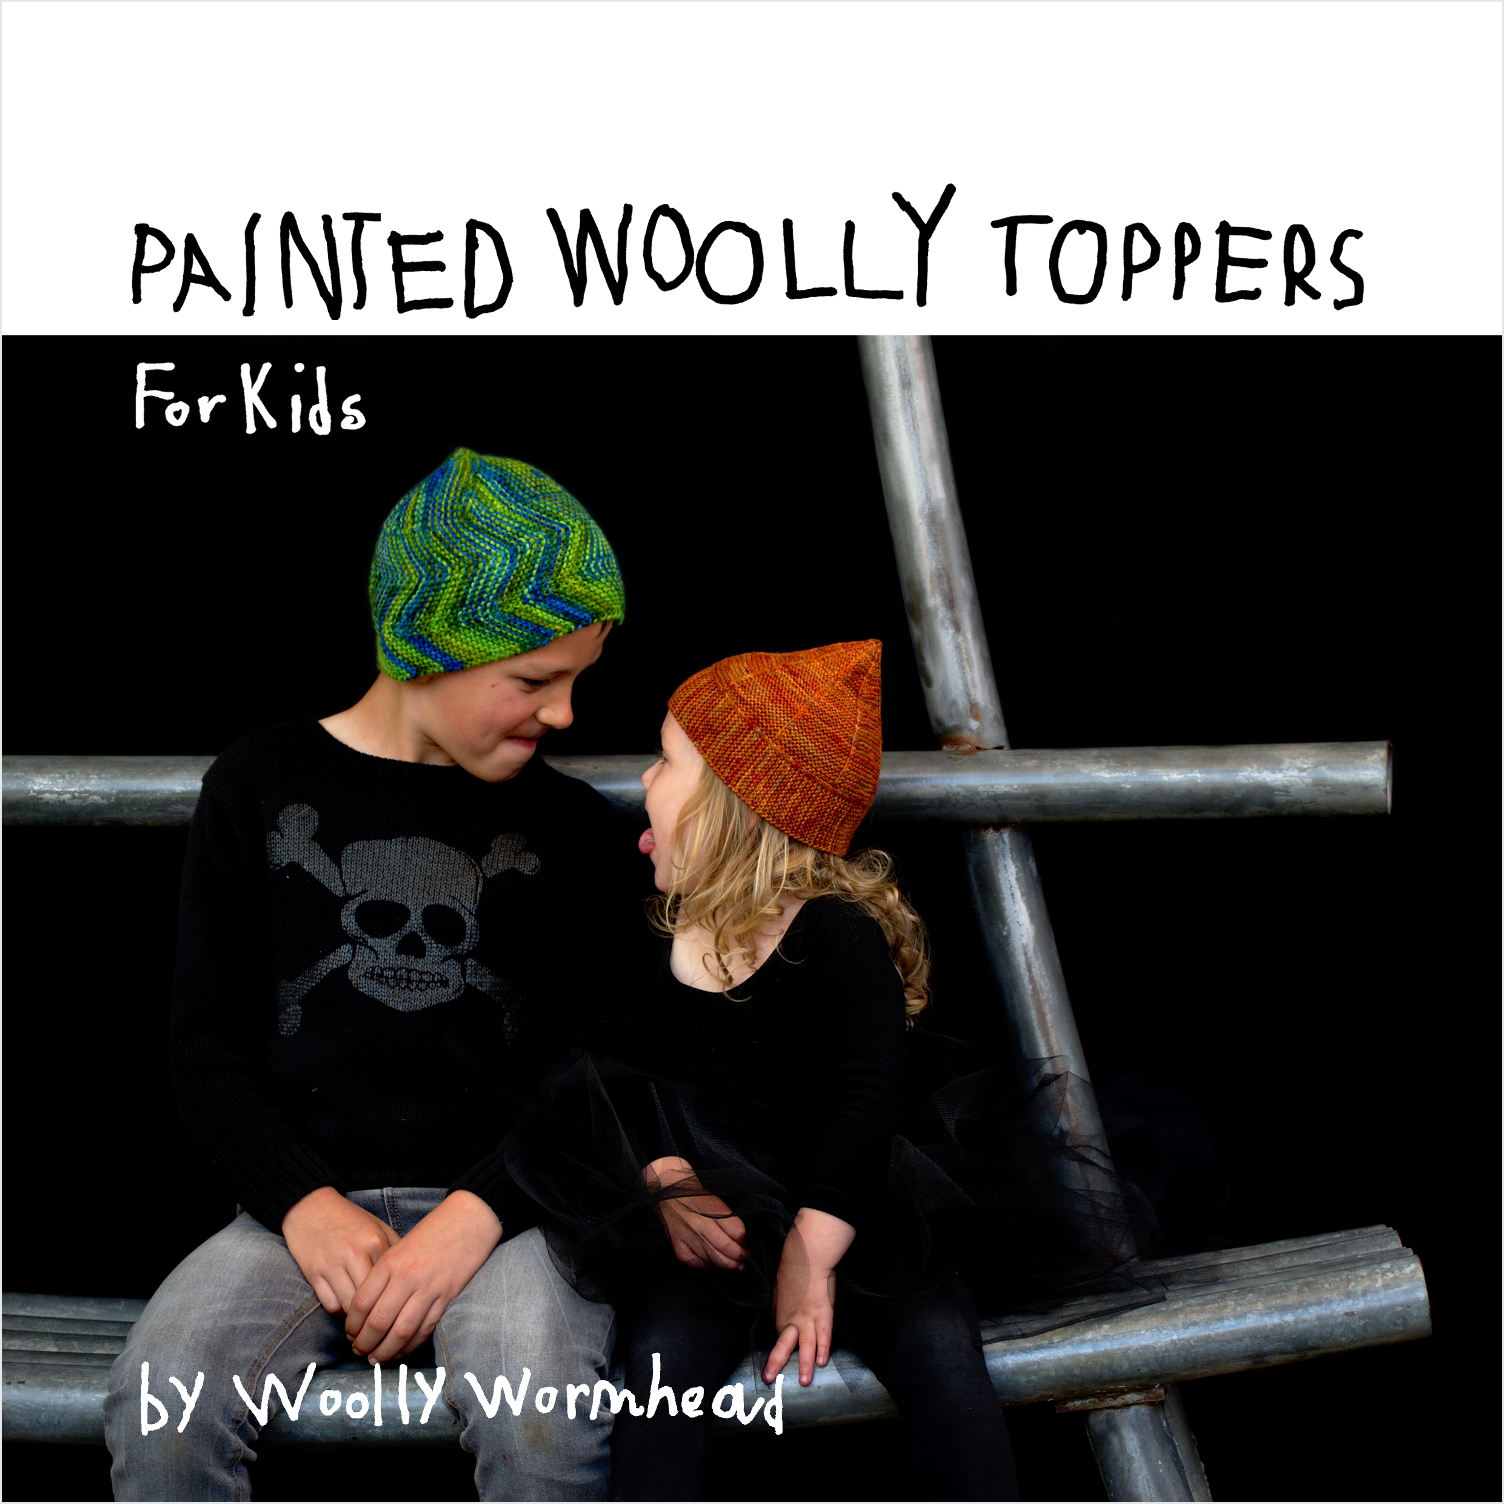
Then the need to work on some other things kicked in, and Painted Woolly Toppers for Kids became a thing and then the trapped nerve and frozen shoulder was a thing, and I wasn't able to work and develop this is much as I wanted to. This is what happens when what you do isn't just about the creativity, but also about keeping the roof over your head and food on the table. And sometimes it's hard, not having the luxury to follow your creative dreams.
Towards the end of last year, once PWT4K was safely published, I finally had some time and brain-space and switched this project on fully. And it's been keeping me busy ever since. (my shoulder hasn't fully appreciated working at such fine gauge....). As I travelled around for my teaching tours during October and November, these swatches and Hats kept me company. It felt so good to be able to focus all of my attention on them again.

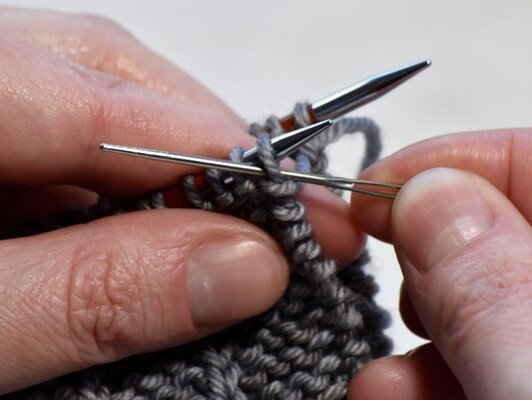
slipped stitch spiral swatch

grafted slipped stitch spiral swatch!
Naturally, having developed the grafting method 8 months previously without any practice since, it took a few swatches to get the method right. If I was going to see this through I needed to be absolutely certain that I knew exactly what I was talking about.
And it wasn't just the lack of practice that made me rusty, either. As time went on, and as the project felt further away, my confidence dropped with it. Every opportunity I had to talk to another knitter or designer, I managed to squeeze this into the conversation. I'd talked it up so much that I was at risk of abandoning it and having my failure complex tell me it was right all along.

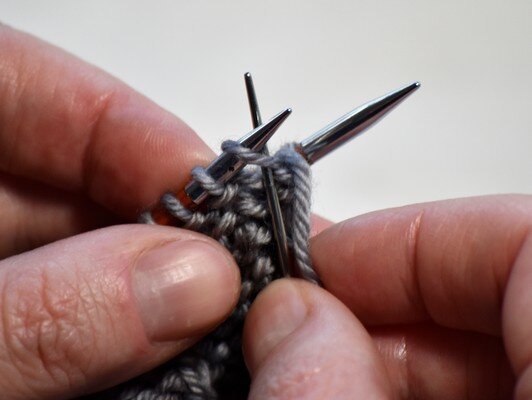
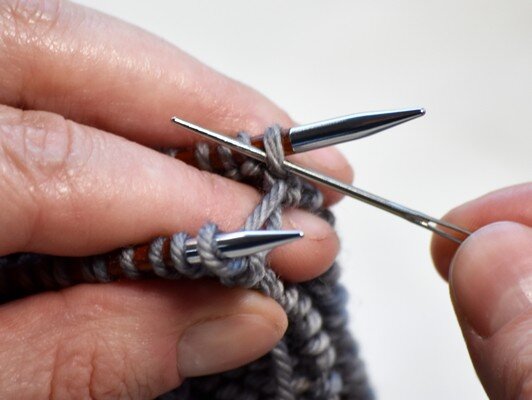
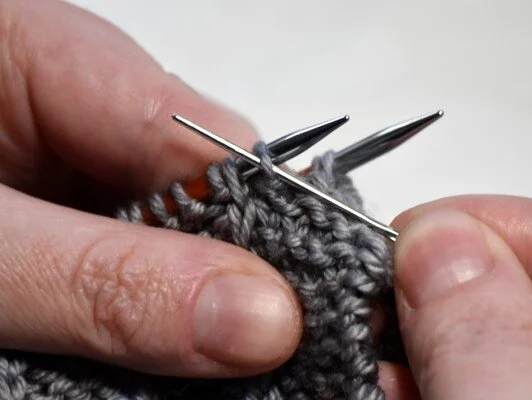
swatching for the new grafting method

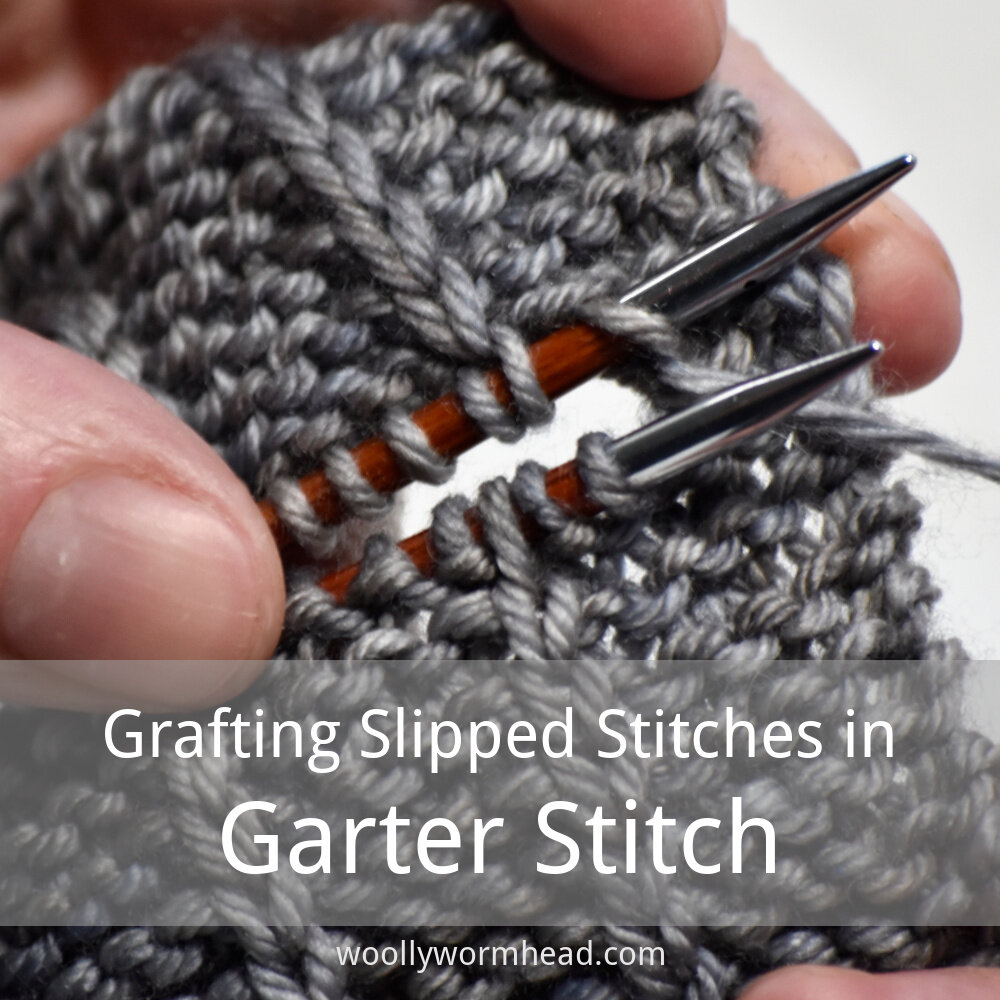
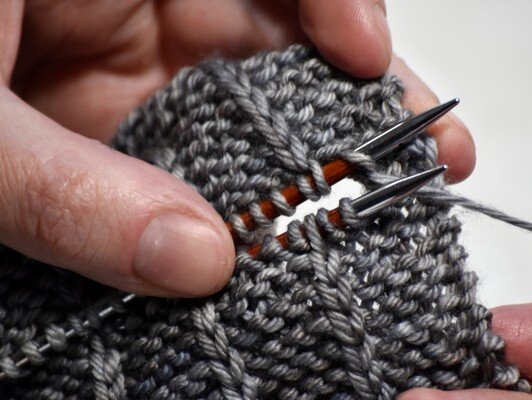
completed graft - slipped stitches over garter stitch
But I didn't let myself down.

Circled Hat #1, the first to be released from the collection
And so, the Circled collection is a thing. The photo above was one of my favourites from our photoshoot last week. It's unedited and straight off the camera; I'm still unable to manage much photography, so I styled and directed and Tom took the photographs. We don't make a bad team, huh?
Now that I've broken the ice and spoken out loud about this collection, I feel free to talk about it more. I'd gotten myself so anxious about the risk of getting all excited and blogging about it only to have my confidence/health/lack of time let me down that I'd decided not to say all that much publicly until I knew I could pull it off.
The photoshoot is done. The single patterns are through their first round of tech editing. The photos and content are with the layout designer. Circled is very much a thing, and it's coming very soon!
(bonus: all 4 patterns use 4ply/sock/fingering. And they'll be perfect for your handpaints)