
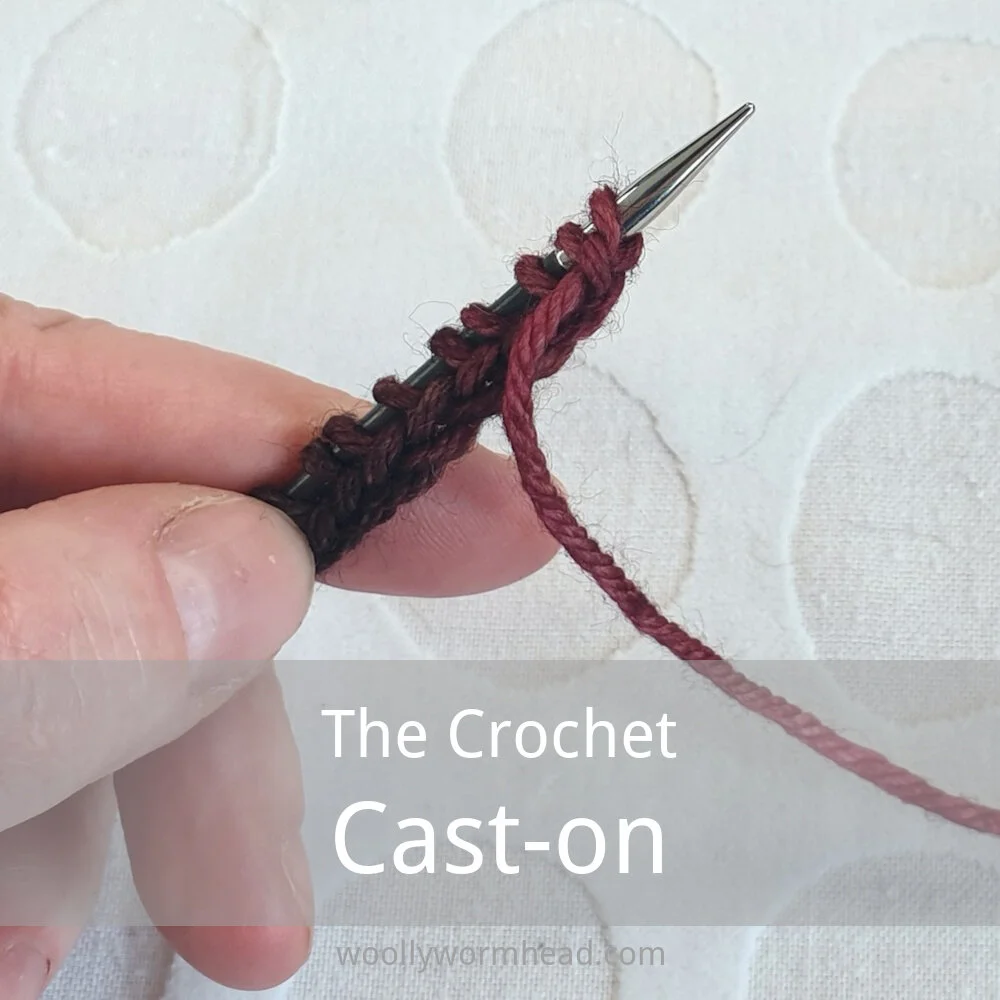
This method is essentially the Crochet Provisional cast-on, only as a main or permanent cast-on. It’s one of those that can be used mid-row or to extend a piece of knitting at the beginning or the end, and I like these methods - it makes them mighty versatile!
I first used this method in Going Straight as a way to cast on for sideways knit earflaps - what’s special about it is that it perfectly mirrors a standard bind-off. So as well as it being suitable for casting on in the middle of or at the end of a row, it can be sued where mirrored cast-ons and cast-offs are needed. Even more reason to like it!

1) To work the cast-on you’ll need a crochet hook one or two sizes bigger than your needle size. This helps make sure the cast-on edge has enough stretch in it. Here my needles are 3.5mm and the hook is 4mm.
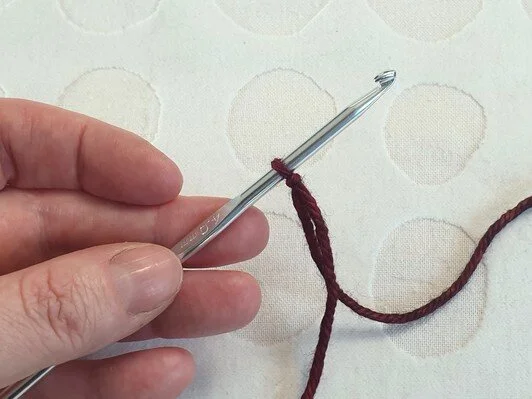
2) Make a slip knot in your yarn and place it onto the hook.

3) Hold the yarn tail in the same hand as the hook and take the working yarn around the back of your needle. I find it easiest to have the hook to the right hand side of the needle.

4) Take your hook across the front of the needle and grab the working yarn with it.

5) Then pull the yarn through the stitch already on the hook, creating the first chain stitch.

6) Then take the working yarn around the back of the needle again

7) Take the hook across the front of the needle again and grab the working yarn, ready to make the next stitch

8) and pull the yarn through to make the next stitch.

9) Continue in this manner, repeating steps 6 to 8, until you have the desired number of stitches, less one.
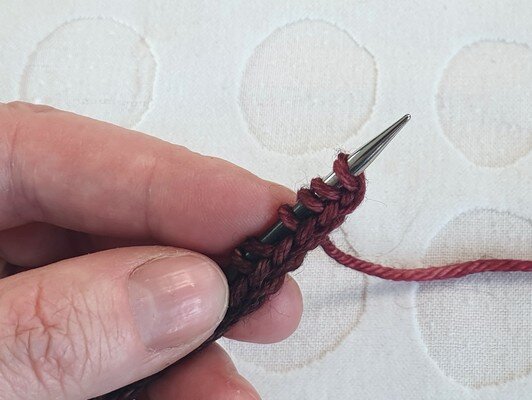
10) Then pop the stitch that’s on the crochet hook onto the needle, making the last stitch and completing the cast-on.
In my experience this first stitch is often a little loose, especially if I’m going straight into garter stitch, which is where I use this cast on method most. To avoid it looking saggy, I slip this first stitch on the first row. Doing this also maintains a continuous chain should you also be adding a slipped stitch selvedge.

11) If the first row worked will be a purl row, and if you want to maintain an even tension and the chain stitch at the edge, then you’ll want your yarn to be in a different position after finishing the cast-on. To do this bring your yarn forward before placing the stitch that’s on the hook onto the needle.

12) Your yarn is then in the right position to start purling!
Support
As always, if you have a question about this technique or need some help with it, leave a comment below! I’m afraid I’m unable to offer help via email or private message but you’re welcome to post in our forums.
I do hope you find this useful, it creates such a lovely edge!


