You may remember that almost 4 years ago, in September 2014, I wrote a lengthy blog post about what's actually involved in writing and publishing a knitting pattern, and why we charge what we do.
Since then a *lot* has changed - my health has deteriorated which in turn has meant more outsourcing. All costs have gone up, including the cost of living. My pattern prices have gone up, too, although right now they're not truly reflecting my increased costs and that's something I need to think long and hard about over the coming months.
I've been wanting to revisit this subject for some time but what with one thing and another (shoulders, I'm looking at you) I haven't. Until now.
Where possible I will reflect on what those costs and processes were, to highlight how much things have changed.

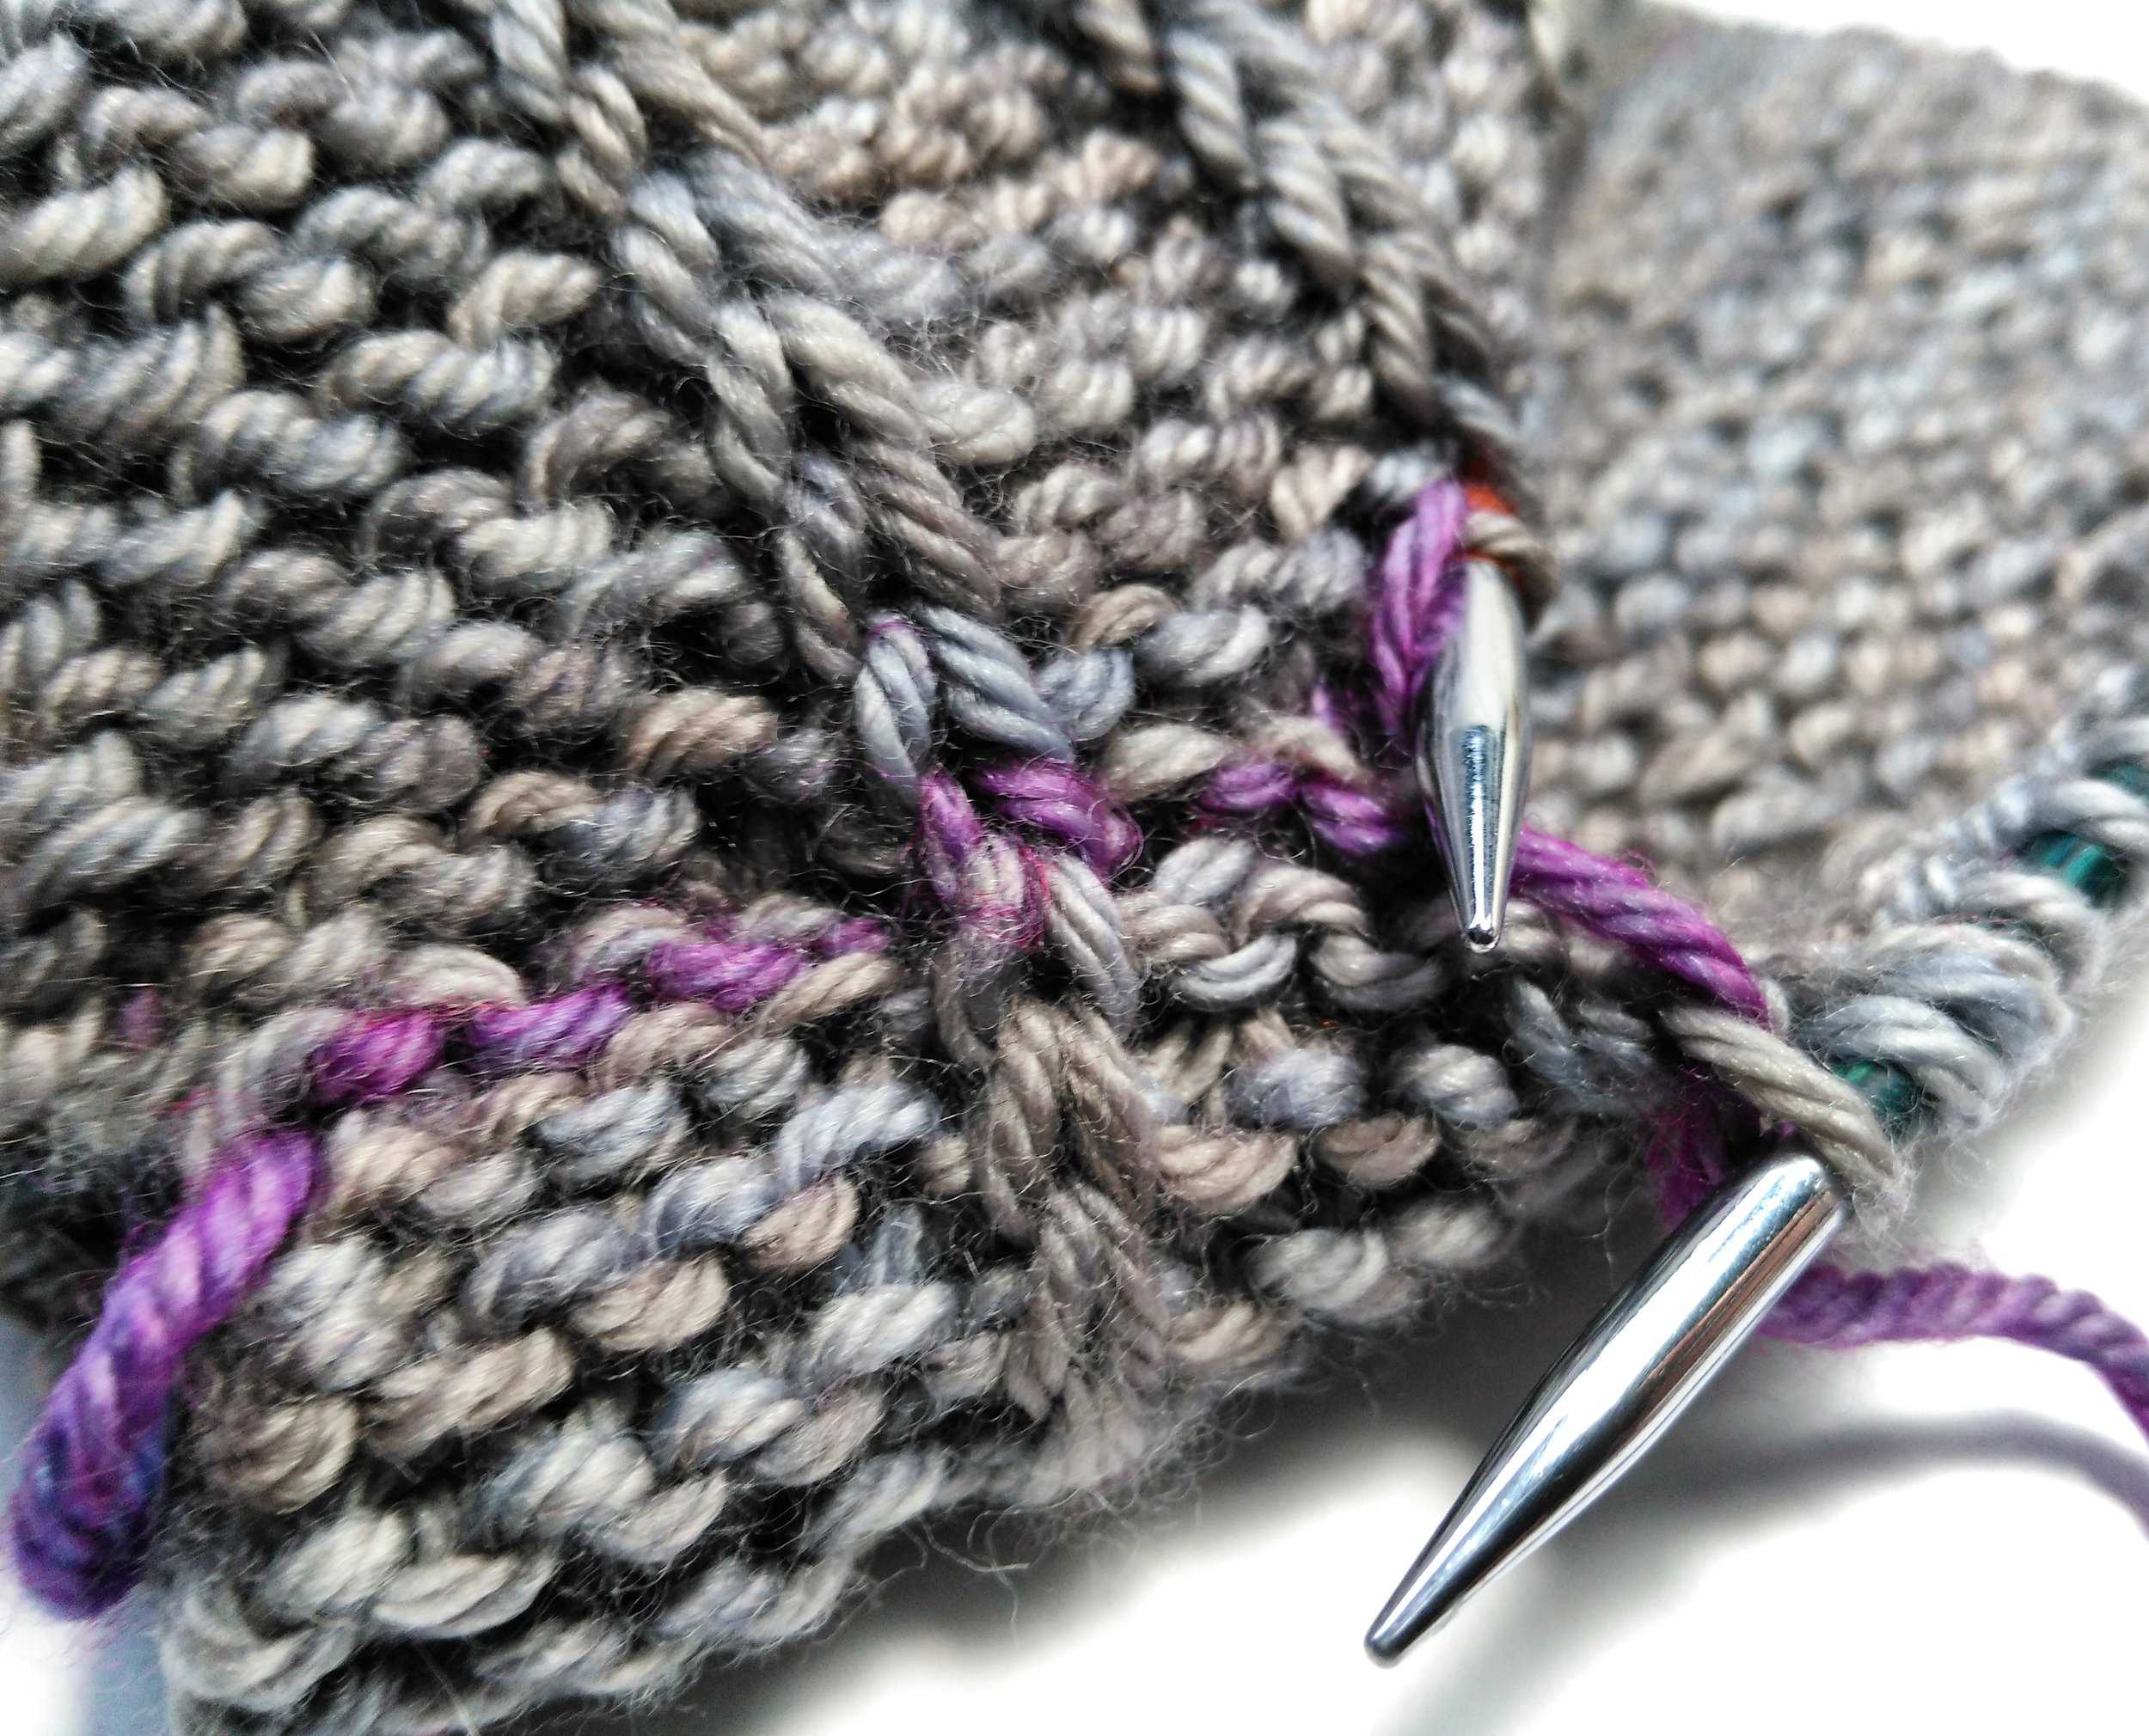
The image shows the crown of my Waffle Slouch pattern. It features the post title “Revisited - The True Cost of a Knitting Pattern”
The production costs - actual expenses
This is the easiest thing to quantify. Each of my patterns goes through test knitting AND tech editing, and all of these people are compensated for their time. Each pattern generally gets seen by two tech editors, and the tech editing time for each is normally around an hour (simpler patterns less; more complex patterns more). Tech editing costs per pattern are roughly £30. Books and their patterns go through 3 levels of tech editing with both editors and a typical tech editing bill for a 10 pattern book comes to around £800 - £900, bringing the average cost of tech editing per pattern closer to £50.
Each pattern is also test knitted, and generally by two test knitters, who each knit a different size to ensure that that it all works out correctly. Many designers use editors OR testers but I use both. Not only does it reduce the chances of errors to virtually zero, and ensure that my editors get a very clean pattern (patterns are test first, then edited) but it also helps me understand how the pattern will behave when other yarns are used, and get feedback on the knitting experience.
Testers are paid a compensation that is based on yardage used, in addition to a flat fee to cover yarn costs, admin time etc. Obviously that means that costs can vary from pattern to pattern, but the average test knitting cost is £35.
Then there is the photography. I take all of my own photos, which helps keep the cost down considerably. I also pay my models, because it's their time I'm taking and they also need to earn. I do try and photograph as many Hats as possible in one shoot, and the shoots are only a couple of hours each. Yet I will photograph each Hat more than once, which adds another level to the costs, but on average that's another £20 added to the production costs (if I paid a photographer it would be considerably more!)
Next we have yarn costs. I do get sponsorship from yarn companies (i.e. free yarn for specific patterns) but quite often I will also buy the yarn I think will work best for the pattern; I'm happy to do this for a few reasons and don't expect my yarn to always be free. I buy roughly 60% of the yarn I use; sometimes I'll need more than the 100g (swatching, 2nd sample etc) and based on that the yarn cost per pattern works out to roughly £10
And then there's advertising. This covers things like Ravelry ads or the cost of sending out a newsletter to promote the pattern. This averages out to about £15. I'm really frugal on this front - many designers will spend considerably more! That said, there are other advertising costs which are indirect and don't fit into this first budget.
So... initial direct production costs come to £130. That's how much I lay out directly for each pattern.
At full price of £3, and taking into account PayPal fees, I'd have to sell 49 copies to cover that. At a discounted price (i.e. coupon through the newsletter or wholesale rate) I'd have to sell 87 copies to cover these costs.
These costs have changed - my tech editor rates have gone up, and with recent collections I've used up to 3 tech editors - and that brings the average up to around £50. I'm using less and less sponsored yarn (in turn this gives me more control over the work I do) that's another cost that's gone up - let's say that's around £20.
These costs per pattern have now risen to £140, which isn't a huge leap on what it was before. What has changed is the extra work I've outsourced, which I cover in the next section.
At full price of £3.75/$6, and taking into account PayPal fees, I'd have to sell 40 copies to cover that. At a discounted price (i.e. coupon through the newsletter or wholesale rate) I'd have to sell 67 copies to cover these costs.
The other production costs
The difficulty in gauging time and costs in this area hasn't changed. What has changed is that I now outsource so much more of this, as it's pretty heavy PC work. I still do my single pattern layouts but the eBooks are outsourced. I've outsourced the copy writing and the uploading & managing POS (with exception of new listings I can get to). Many of these now belong in the actual costs as I'm not doing them, but I've kept them here for comparison.
One of the hardest things for any designer to put a figure on is how much time is spent on producing the pattern. There's the knitting time and the re-knitting time and the pattern writing time and layout time and photography time (because yes, I do all of it) And there's also the thinking time and emailing time (discussions back and forth with testers and editors etc) and to be quite honest, if I sat and counted all of the hours spent it would work out to a thoroughly depressing hourly rate, so I refuse to do it for each pattern.
For the sake of finding some figures, I've looked at a quick pattern (chunky yarn, straightforward design) and a so very not quick pattern (fine yarn; frogged countless times) to calculate some sort of average. The numbers below are based on this average. And I've worked backwards, as it made things easier to work out!
1) Uploading & managing POS - 2 hours
2) Layout time - 2 hours
3) Photo editing - 1.5 hours
4) Photography - 1 hour
5) Editing time - 1.5 hours
6) Pattern writing and charting - 2.5 hours
7) Knitting time - 24 hours
That amounts to an average of 34.5 hours of my time spent on each pattern in the production stage. These figures will vary wildly for each designer, and they would change constantly too, as experience is gained and new avenues are explored. As I say it is the hardest thing to quantify and I've more than likely under estimated rather than over. Thinking time in particular is impossible to guesstimate.
So, based on an average of 34.5 hours per pattern, and if we look at minimum wage as a base point, each pattern would have to pay me £224.25. In terms of sales, and remembering that PayPal take their cut, I would have to sell 84 patterns at full price, or 150 at a discounted price.
That brings the number of copies that needs to be sold to 133 at full price, or 237 at a discounted price.
I've outsourced the photography to Tom, and he deserves to be paid for the work he does for me, so that's an additional cost. He also does a fair bit of editing, too, as that's a real killer on my shoulders - photography plus editing is looking at £100, easy, per pattern, and is probably closer to £130. He also produces any technique videos needed, so that's an extra £50 on top. Copy writing and uploading adds an extra £25 per pattern. Layouts for books are in the region of £1000, so that's a huge amount that needs to be covered (it's very much worth it, as Zab is bloody brilliant and works magic, and it saves me an awful lot of time and pain). My pattern writing and knitting times haven't changed that much but I'd like to earn a little bit more than minimum wage on this!
Considering averages here, these costs add a huge £255 per pattern in direct outlay costs, and an extra £300 in paying me. That brings the total costs per pattern to £695. That means I'd have to sell 480 at regular rate or 538 at the discounted rate.
These figures have been skewed by the costs of the book layouts being averaged across my single patterns, but that's how this all works - the patterns have to pay for *everything*, not just their own costs. These are average figures, don't forget - many will cost less to produce, some will cost more.
The non production costs
This is the part that frequently gets over looked. And it's probably one of the most expensive areas.
Let's think about the photography for a moment... I keep production expenses down by doing the photography myself. Yet it's taken years of practice to get my photos up to a half decent standard. And each time I get the camera out to practice, I've paid my models. And the camera itself has a cost too - the different lenses, the filters, and even odd bits like the camera bag and cables. I use open source software for just about everything so my software costs are low too (i.e. practiaclly zero) but a designer who edits their own shots and doesn't use open source still has to buy the software to be able to do that.
We're looking at thousands on this front. The camera alone has cost over £1,500 without adding in any contact hours. And you don't just buy once and use forever; tech breaks. It needs repair or replacement. Tech gets out-dated. It's a never ending cost.
Then there's the computer. My laptop is now 3 years old, and it cost a small fortune at the time to buy (thankfully it was on sale, else it would have left an even bigger dent) but I got what I paid for, and have a powerful and reliable machine. I keep a laptop as my main computer because I travel so much - a desktop would be totally impractical!
Adding to the laptop is the cost of back up hard-drives, thumb drives, cables, the printer and a whole bunch of other tech. Tech is expensive, if you want to buy good stuff that lasts. I buy most things on sale or secondhand, yet I've still spent thousands and thousands.
Then there's my knitting skill. I've been knitting since I was 3 - how far can you reasonably claim for hours spent developing skills? Training courses are an obvious and quantifiable cost, but practice and thinking time isn't. Where do you draw the line?
Other costs are easier to see, the non-production expenses. Such as building a website and paying the monthly host fees (£15 per month) and annual domain renewals and email renewals etc (£60 per year). There are Ravelry fees for selling patterns, which are based on volume. There's the cost of the internet and phone line (roughly £30 per month).
Whilst I do a lot of the production myself, I do outsource some of it. Such as the illustrations - my illustrator is great and charges a very reasonable rate per illustration, and the resulting tutorials add a lot of value to the books and patterns - they make the project easier for you, the knitter.
You have the cost of marketing and promotion - exhibiting and travel. Paying someone to write the copy (I'm useless at that!) or to copy edit your work. There's the cost of business cards and postcards and the display items and head stands. There's the cost of hiring a stand (a small fortune at a trade show) and all the time planning and developing the display.
You could argue that these aren't pattern costs, and I get that. But when pattern sales make up 98.5% of your turnover(and income)(including books) then yes, they are pattern costs, as the patterns have to pay for them. Business speak says that these costs are "indirect costs", and they're still costs all the same. And how would you calculate how many patterns have to be sold to cover all of this?
This section hasn't changed all that much. I still buy tech (Elemental afforded me a new high-spec PC for which I'm very grateful!). I still buy books and needles and spend time learning how to do things or experimenting with something.
Post production costs
Once a pattern goes out there, once it's published and in the hands of the knitter, it's costs don't stop. If an error is found, I have to spend timing working it out and sending it back to the tech editor for review, which can often take more time than the initial production (getting back into a pattern that you haven't looked at for 5 years isn't all that easy). There's time involved in uploading the revised file to the various sources, and that all uses bandwidth (my internet is mostly a PAYG modem, so bandwidth is a tangible cost).
Then there's pattern support. I'm very fortunate in that I receive very few emails from knitters needing help with my patterns, but nonetheless, I still get them, and they still take time. I spend a huge mount of time writing to companies who sell my patterns, keeping services up to date, and generally emailing about other work related things that aren't pattern support. These are all mostly good things, and essential things, but time it still is.
What about social networking? Time spent keeping up with knitters and Hat lovers? Posting photos and sharing tips? If I was a proper business sort I'd be counting those hours, but I'm not, and I don't. But it's still my time. These are post production costs too, as they are usually pattern specific.
This is still pretty much the same, too. My error rate is incredibly low thanks to all those test knitters and tech editors - they may bump up the production costs but they reduce my post production costs and the value they add to the knitter's enjoyment and my reputation is invaluable - I simply can't put a price on that.
Conclusion
Having read all of this, you might be thinking, well that's easy, you must sell thousands of each pattern!
Well, no.
I don't have any patterns that haven't covered the expenses I've laid out in the first section. But there are patterns that haven't covered the time I've spent on them. And few patterns can reach as far as helping to cover the non-production costs. Very few designers have pattern sales in the thousands on a regular basis. You'd consider yourself lucky if pattern sales reach the hundreds!
Would it put it into perspective if I told you that we as a family live below the poverty line? I don't make minimum wage. We are able to live and keep fed because I'm frugal and our lifestyle is a cheap one. I don't have a mortgage to pay; no-one would ever give me one on my income. I'm OK with that because I'd rather we live as we do and I don't want to turn this into an emotional post, but sometimes a little context helps. We don't charge what we do for our patterns because we're trying to rip knitters off; we charge what we do because that's what it costs. We're not getting rich! And our time is no more or less valuable than anyone elses.
What you get when you buy a £3 pattern is an awful lot of time and energy and skill and expertise and creativity, all rolled into one. If you can't afford to pay that, I totally understand, because I couldn't either. But please don't expect our patterns to be free; please respect our right to charge for our work and our time. Yarn companies can afford to give patterns away for free because they're loss-leaders to them; they're trying to sell you the yarn and the pattern costs are hidden. That's not the case for us. When you buy a pattern from an independent designer, you are directly supporting a small business, an individual's creativity and maybe even helping a young family like ours.
This has changed, quite interestingly.
We no longer live below the poverty line, and this has only turned around in the last year or so. I'm not in the top league in terms of pattern sales and I must say that given a choice, I'd prefer to be more comfortable financially, purely because I know how much maintaining my health, amongst other things, is costing us. That said, I know I've a much more reliable and fiscally safe business than many designers. Despite our very cheap and frugal lifestyle, our costs of living are up in other ways, too, and I do need to factor all of this in as I review prices over the next few months. Together we still don't earn enough to get a mortgage, put it that way.
What remains the same is that many patterns don't sell well enough, and only a few do. I still don't have any patterns that haven't covered their production costs but it's always a worry, as we're not that comfortable.
Your support and understanding is invaluable - without you, we wouldn't be able to manage any of this, let alone afford me the help I need.
The biggest changes we have ahead all evolve around moving residency. The costs of applying for residency in Italy are low, in and of themselves, but overall it's going to cost us big. I have to separate me and the business, which means accountant fees and lots of travel and admin to secure things. We also have to move tax residency and that means paying out an awful lot of tax ahead of earnings in the new residency, whilst still closing off taxes in the old residency during the changeover. Then we have to change paperwork, import the car or buy a 2nd hand one here (2nd hand cars in the UK are a fraction of what they cost in Italy) - just sorting the car out alone will cost us several thousand. These are not changes or costs that we've pushed for; we're doing all this because we have to, because of Brexit. We're looking at around £15,000 minimum for all of this, and we've been saving hard to make sure we have it. My health is costing more than we can really spare right now - I can't get the help I need from the state and I'm not prepared to live with deep chronic pain if we can raid the savings to no to - the sooner I'm healthier, the sooner I can get back to work. Whilst you might think this is all irrelevant and none of anyone's business, the money has to come from somewhere - this is my job after all - and the stress is building daily. We might be above the poverty line now but we have huge extra costs that we didn't have before to consider. In short, we're not sitting here getting rich from pattern sales. We're real people with real concerns, just like anyone else. This isn't a hobby or a second income, it's our only income.
Well, I hope this reflection has been helpful! It's always a good idea to revisit costs, and to revisit this subject. My original blog post received a lot of traffic but almost 4 years is a long time, and a refresher on what's involved is never a bad thing.
eta/ this post was updated on 11th March 2022 with a new post graphic. The image shows the crown of my Waffle Slouch pattern.