This tutorial is an extract from my first book, 'Going Straight – A New Generation of Knitted Hats', a book which contains kitchener/grafting instructions for 8 different combinations including reverse stocking stitch, garter stitch, reverse garter stitch, combining St.St and garter in one graft and much more!
Further information about this book can be found here: http://www.woollywormhead.com/going-straight/
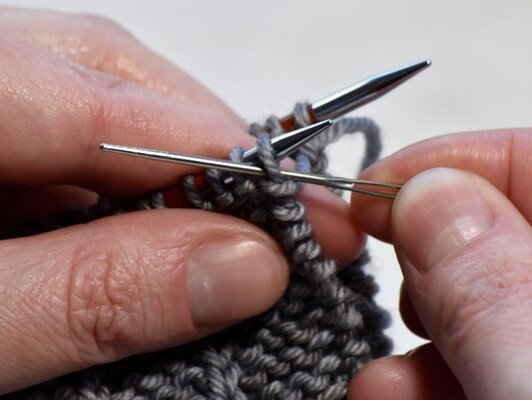
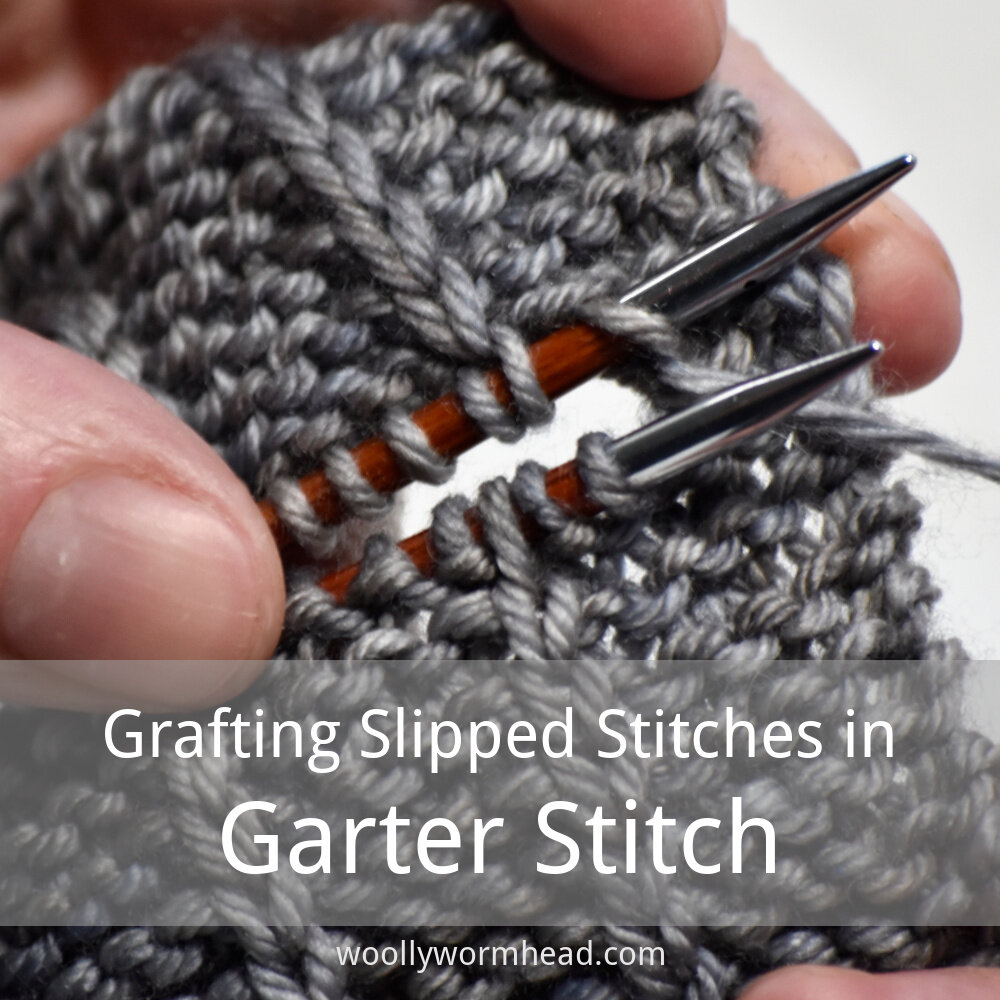
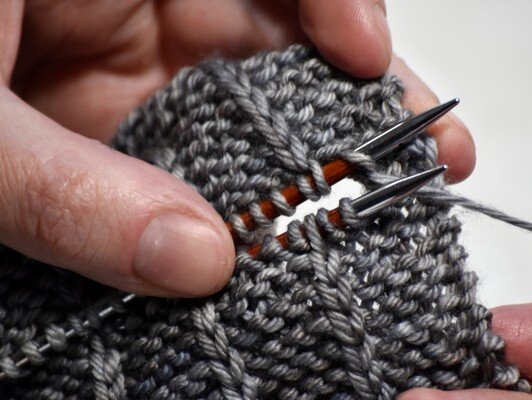
Below are the four steps for kitchener stitch for garter stitch. To prepare for grafting, we need to ensure that our stitches are held together and parallel on the needles, with right sides of the work facing out.
To ensure your graft works correctly, you need to set your stitches up correctly. Unlike grafting stocking stitch, you cannot just bring the edges together, they need to be set up in a particular way. As you look at the needles from the top as shown in step 1, one side should have the ridges right up to the needle and the other should have the ridges sitting away from the needle. If your ridges are the other way around then you'll want to reverse the instructions (this would be known as 'ridge low' grafting). If both needles are the same, you'll want to unpick one side – this is especially important to remember if you're folding a piece in half to graft – in this case, knit half the row before folding.
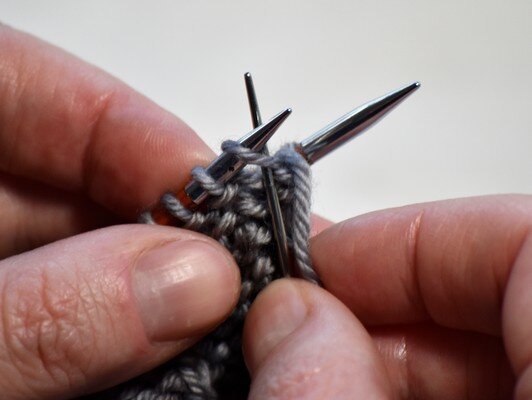
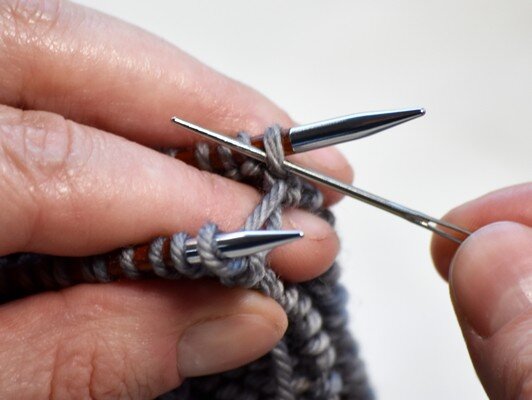
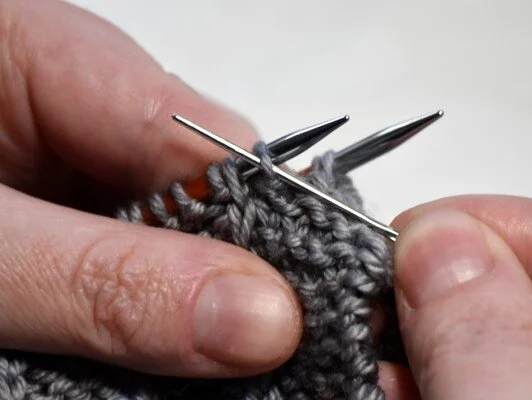
When we graft, we work first on the front needle and then on the back needle. It's quite important to remember to stop after step 4 should you need to have a break or tighten up the slack, so that you can start again at a convenient point. Whenever I teach this technique, the most common problem that occurs is stopping mid way through the 4 step process which causes confusion for the knitter.
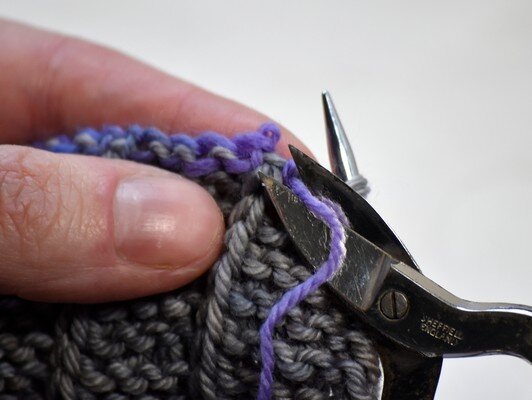
To start the graft and create the beginning selvedge edge, work steps 1 & 2 as shown in the Grafting the Selvedges section below. Then work steps 3 to 6 as shown in the main Grafting Garter Stitch section below until all stitches have been grafted, then finish with steps 3 & 5. In a general grafting mantra, where we work 4 steps throughout, the opening selvedge is usually steps 1 & 3 and the closing selvedge is steps 2 & 4.