The brilliant Louise is helping me get organised and manage some areas back stage. We've been working together for a wee while, but it's about time I mentioned it as today she's hit 'send' on review copies of Painted Woolly Toppers for Kids going out to bloggers, dyers, editors and podcasters!


If we've missed you, or you'd like to join in the fun and review the book, please send us an email via the contact form and we'll get back to you.

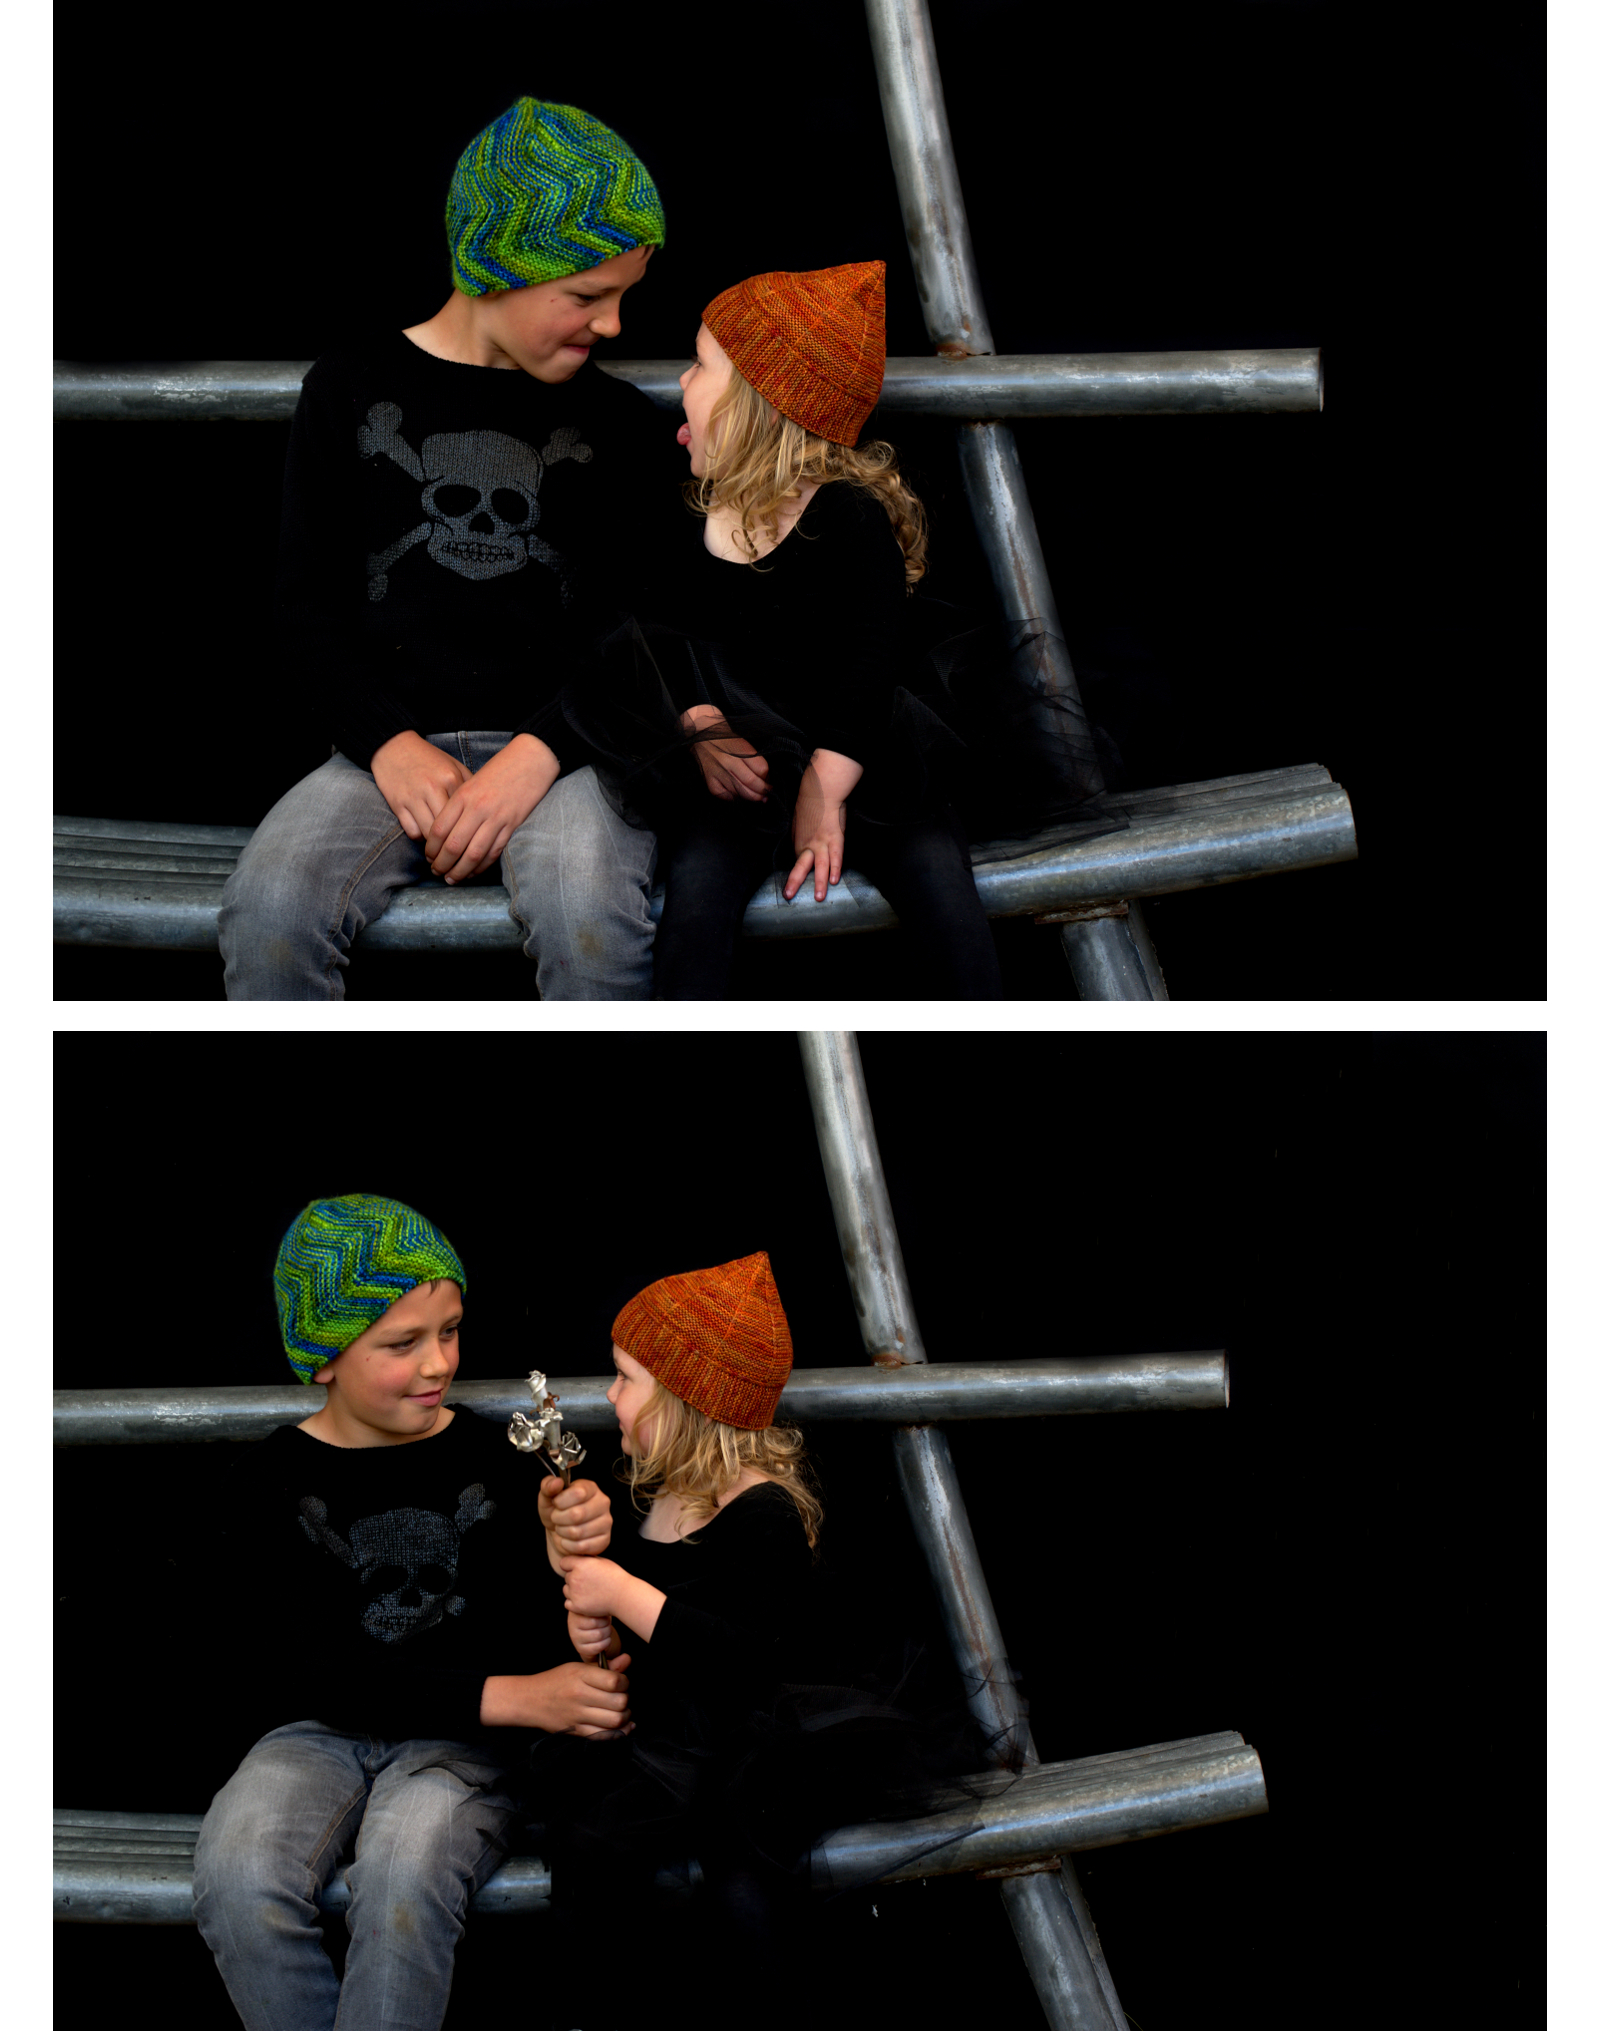
This shot is a favourite of mine - I've used it on the back cover of the book, as I just love the way the light falls, and the way the robot is guarding the precious Hats. The robot does feature in the book a little and there are details included about the artist, too.

Painted Woolly Toppers for Kids will also go on pre-release this week! Slowly over the next week or so I'll introduce the Hats, share some photos and background, and you'll be able to buy the eBook (that's also bundled with the singles) for an early-bird discount. Once my editors are happy that the eBook is sparkly and ready, it'll be published and the price will revert to it's usual of £10/$16.

There's lots to tell you, and I'll be taking my time, don't worry :)

Thank you for your support for my last blog post. Knowing that I can say out loud that I need a little help and that I need to lean a little helps a great deal. And knowing that the Ravelry group is there for support makes a BIG difference - it's not just there for pattern help and queries, it's a brilliant and supportive community, and always worthy of a visit.

There's still more that I'd like to do, to streamline some areas such as provide direct links to support/discussion threads, and that's going to take time. It's amazing how much back-end non-knitting admin type things happen in a creative business, and an awful lot of it comes in via email. This is something I've long since battled with, as although I know it's an essential part of the job, keeping the balance isn't easy, and it's this aspect that eats away at you more than anything else. It's not that emails are bad or that I don't want to hear from knitters of my Hats, I think it's that the volume can be overwhelming and you lose touch with the tactile things that bought you to this point in the first place. My health has forced the issue before I've had time to put everything in place, but we'll make it work somehow.

Anyhows, that's me for today. I'll share a little about the Hats here and on Instagram, and I will of course let you know when the eBook is available! (soon; very soon)

Posted
AuthorWoolly Wormhead
button for patreon
All of the free patterns and tutorials on this website are supported by my amazing Patreons! If it wasn't for them I wouldn't be able to continue to produce or host freebies. We'd love to have you join us and in return, you get exclusive behind-the-scenes material, member-only discounts and early access to new free content. Membership starts at $1 per month. If you'd like to, you can say thanks for the freebie via the Tip Jar.
ElbertsCap.Square.BlogMain.jpg

Description

Elbert’s Cap is a pixie Hat with a deep garter stitch brim and a stocking stitch crown. The body is worked flat so that the garter ridges are vertical. The crown is worked in the round and ends with a slight point.

Availability

My Patreon supporters and members of The Woolly Hat Society get exclusive early access to new free patterns and tutorials. Once the exclusive period is over it’s published here on the blog.

Support

If you have a question about this pattern, pop it in a comment below. Sorry, but I’m unable to help with my free patterns or tutorials via email or private messages.

Social Media

Share your hand-knit Hats online with these hashtags!

#WoollyWormhead

#WWHats

#WWElbertsCap


Yarn
274yd/250m/100g
DK weight, plied yarn.

Needles & Notions
Set 3.75mm/UK9/US5 DPNs/Circular or size needed to obtain gauge
3.75mm crochet hook
Approx 2yd/2m waste yarn
Stitch marker as necessary
Tapestry needle

Sample details
Chiaroscuro Dye Lab Nyad DK [274yd/250m per 100g; 100% Merino Extrafine Superwash]

Gauge
22 sts x 36 rows to 4in/10cm on 3.75mm needles over St. St.

22 sts x 44 rows to 4in/10cm on 3.75mm needles over Garter St.

Sizes
To fit sizes: 17.25 [18.25, 19.75, 21, 22.25] in/43.75 [46.25, 50.25, 53.25, 56.5] cm
Finished size: 15.25 [16.25, 17.5, 18.5, 19.75] in/38.75 [41.25, 44.5, 47, 50.25] cm
Not sure which size to make? Check my handy size and measuring guide!

Skills required
Garter Stitch

Stocking Stitch

Knitting in the round

Provisional Cast-on

Grafting Garter Stitch

Increases & Decreases

Abbreviations

K: knit

P: purl

rpt: repeat

Rnd(s): rounds

st(s): stitch(es)

k2tog: knit next 2sts together

Note

The Body of this Hat is worked sideways, and is very easy to adjust should you wish for additional sizes, or should your row gauge differ.

You simply need to work the number ridges to a multiple of 6 less one row. The garter grafting replaces one entire row, so it's important to remember to leave space for it – it won't graft correctly otherwise.

You would then pick up 1 stitch for each ridge, as the crown is worked on a multiple of 6.

How to

Using waste yarn and Provisional Cast-on method, cast on 22 [26, 30, 34, 38] sts. Change to main yarn and work the Body panel as follows:

Body panel

Row 1: Knit all sts
Repeat this row, continuing to work garter stitch flat, until 83 [89, 95, 101, 107] ridges have been worked, where 1 ridge = 2 rows. (note that when you are counting ridges, ensure that the ridge count on both sides of the work is the same. This ensures an even number of rows have been worked)

Work one more row flat.

Carefully remove Provisional Cast-on stitch by stitch, taking care to keep in pattern, transferring live stitches to 2nd needle.

Perform Garter Stitch grafting across all sts. Break yarn and weave in all ends. The garter graft will have created a final row in the work, bringing the total number of ridges to 84 [90, 96, 102, 108].

With a circular needle and yarn, and starting at the point of grafting, pick up and knit one stitch for each garter ridge. [84, 90, 96, 102, 108 sts]

Join in the round, being careful not to twist sts.

Place stitch marker to indicate start of round.

Crown

17.25in size jump to Rnd 9, 18.25in size jump to Rnd 7, 19.75in size jump to Rnd 5, 21in size jump to Rnd 3 & 22.25in size start from Rnd 1

Rnd 1: *K16, k2tog; rpt from * to end [102 sts]
Rnd 2 & all even rounds: Knit all stitches
Rnd 3: *K15, k2tog; rpt from * to end [96 sts]
Rnd 5: *K14, k2tog; rpt from * to end [90 sts]
Rnd 7: *K13, k2tog; rpt from * to end [84 sts]
Rnd 9: *K12, k2tog; rpt from * to end [78 sts]
Rnd 11: *K11, k2tog; rpt from * to end [72 sts]
Rnd 13: *K10, k2tog;rpt from * to end [66 sts]
Rnd 15: *K9, k2tog; rpt from * to end [60 sts]
Rnd 17: *K8, k2tog; rpt from * to end [54 sts]
Rnd 19: *K7, k2tog; rp from * to end [48 sts]
Rnd 21: *K6, k2tog;rpt from * to end [42 sts]
Rnd 23: *K5, k2tog;rpt from * to end [36 sts]
Rnd 25: *K4, k2tog;rpt from * to end [30 sts]
Rnd 27: *K3, k2tog;rpt from * to end [24 sts]
Rnd 29: *K2, k2tog;rpt from * to end [18 sts]
Rnd 31: *K1, k2tog;rpt from * to end [12 sts]
Rnd 33: *k2tog;rpt from * to end [6 sts]

Break yarn and draw through remaining 6sts, tighten to close.

Finishing

Weave in all ends. A gentle wash and blocking is recommended.

ElbertsCap.LR.1.jpg
ElbertsCap.LR.2.jpg
ElbertsCap.LR.3.jpg

After meeting Elbert at a discussion panel in Rimini, Italy, and after seeing his yarns in person for the first time, I wanted to face the challenge this colourway presented and design a Hat that didn’t pool and was able to show the vibrant colourway to its best. Turning one part of the Hat sideways by knitting it flat solved this problem, and knitting the remainder of the Hat in the round in a vertical direction worked perfectly with the yarn, creating a striking effect.

This pattern was originally published in the December 2015 edition of Notions magazine.

Posted
AuthorWoolly Wormhead
CategoriesHats, Patterns

We're almost there with the new book, and I am dead chuffed with the cover!

 
Painted Woolly Toppers for Kids - my new book, due for release very shortly

Painted Woolly Toppers for Kids - my new book, due for release very shortly


When I surveyed the cover photo in a previous post, although comments here were in favour of the roses, the overwhelming majority across all channels was in favour of this cheeky shot. And I do agree... there are *lots* of cheeky shots inside, more poking out tongues, pulling faces, all sorts of fun, childish behaviour and this sets the tone perfectly.

The hand writing was provided by Aran, and he's proud to have done so.

This week I'm working on the very final edits so that I can get the final draft out to my editors and review copies to dyers, bloggers and reviewers.

And if you want to find out when the book is released, don't forget to subscribe to the newsletter if you haven't already!

I've not made as much progress with the trapped nerve and RSI club as I'd hoped; I was doing well but then things got difficult again (not sure why, but suspect sleeping conditions and complacency with exercises) and now I'm back to taking things very slowly, with forced regular breaks. I'm also reconsidering my release schedule to keep the pressure at bay.

Because of all this, the print edition won't be ready at the same time as the digital edition, both for the book as well as the single patterns. Print takes much more editing, as I'll need to readjust the blacks, have test prints done etc, and the thought of all that time at this laptop is hurting my brain.

Anyways, keep an eye on the blog/Instagram/Twitter/Newsletter because before you know it, the eBook will be available for pre-order! I'll then introduce the patterns over the coming weeks, and I'm sure you're going to the love the photos as much as the patterns.

Until then.

Posted
AuthorWoolly Wormhead
2 CommentsPost a comment
Pinua comes with a story of a trip to a pine forest. Walking about, I noticed the bold, graphic qualities of the tree branches and decided that I had to try capturing that in a Hat. The result is Pinua.
It all starts with soft garter stitch interrupted by straight lines. The lines turn into tree trunks, and I used traveling stitches to mimic branches. Pinua is worked in the round, bottom-up and assumes you are comfortable with cables and twisted stitches.


Pinua is my latest design, and it's my contribution to the Miss Babs Fall 2016 collection!


Pinua features this wonderful textural motif that works it's way up from the Brim, through the Body, and into the Crown. The pattern includes options for the garter stitch Brim (shown) and a twisted rib Brim, which shows off the pattern just as well.


With this being a gathered slouchy Hat, I wanted to ensure that the pattern works effortlessly with the gathered effect and I think I got it just right - all too often a gathered Crown kinda loses all the detail. I really like the way the Crown reveals a hint of detail without being all that complicated. There are a few unusual stitches to this Hat, but nothing difficult or tricksy, and it is a relaxing, meditative knit.


The pattern is worked bottom up and in the round, and that textured pattern features lots of tiny cables. Fear not, as I've all those fresh tutorials for cabling without a needle to help you work through it more quickly!

The pattern comes in 4 sizes and includes both charted and written instructions, with illustrated tutorials for the extra bits you might want some help with.

I do hope you enjoy the pattern! I really enjoyed working with the yarn, Kunlun, which is lovely and soft and offers such strong stitch definition. You can see more of the Miss Babs Fall 2016 on Ravelry - do pop over and have a perusal :)

Posted
AuthorWoolly Wormhead

It's been a little while since I mentioned the new collection here, but it's almost done. 2nd round of edits are all in, so with the exception of one last tutorial and the final round of edits, it's good to go.

Except for the photo editing. This has been held up by a) the trapped never in my neck and the multiple RSI's in my right arm and b) photo editing.

Discovering that my favourite RAW editor didn't support my new camera threw me off a bit last year when I bought it, but I've been able to get by with editing JPEGs in Gimp. But not so with this new collection.... shooting against a black background has been a huge learning experience, from building a giant light tent on the plot to using my zoom lens with a wide depth of field (which takes me further out of my comfort zone than I can express). The photo editing isn't a big job on this per se, as the photos are sharp and uncontaminated; the main issue was the constantly changing light and fast moving kids. And because of this, the main concern is in matching skin tones and yarn colours and blacks for the background, all of which I'd always do in RAW. Learning a whole new software, a heavy front end and extremely powerful software, all whilst trying to limit time at the computer is bound to make this part.... longer than it needs to be.

BUT! I'm almost done with the RAW editing! And while I plug away (slowly, just a few hours per day) with the editing, care to share your opinions on the cover shot? These aren't the final edits, but I think these are the final 2 shots.


Tongues or metal roses? And do tell me why!

There is the back cover too, so neither shot will be wasted and I think they play pretty nicely together. But I can't decided.... Twitter and Instagram are pretty unanimous at the time of posting... care to share your thoughts?

Posted
AuthorWoolly Wormhead
10 CommentsPost a comment